
Introduction to Mock Chocolate Cookie Crust
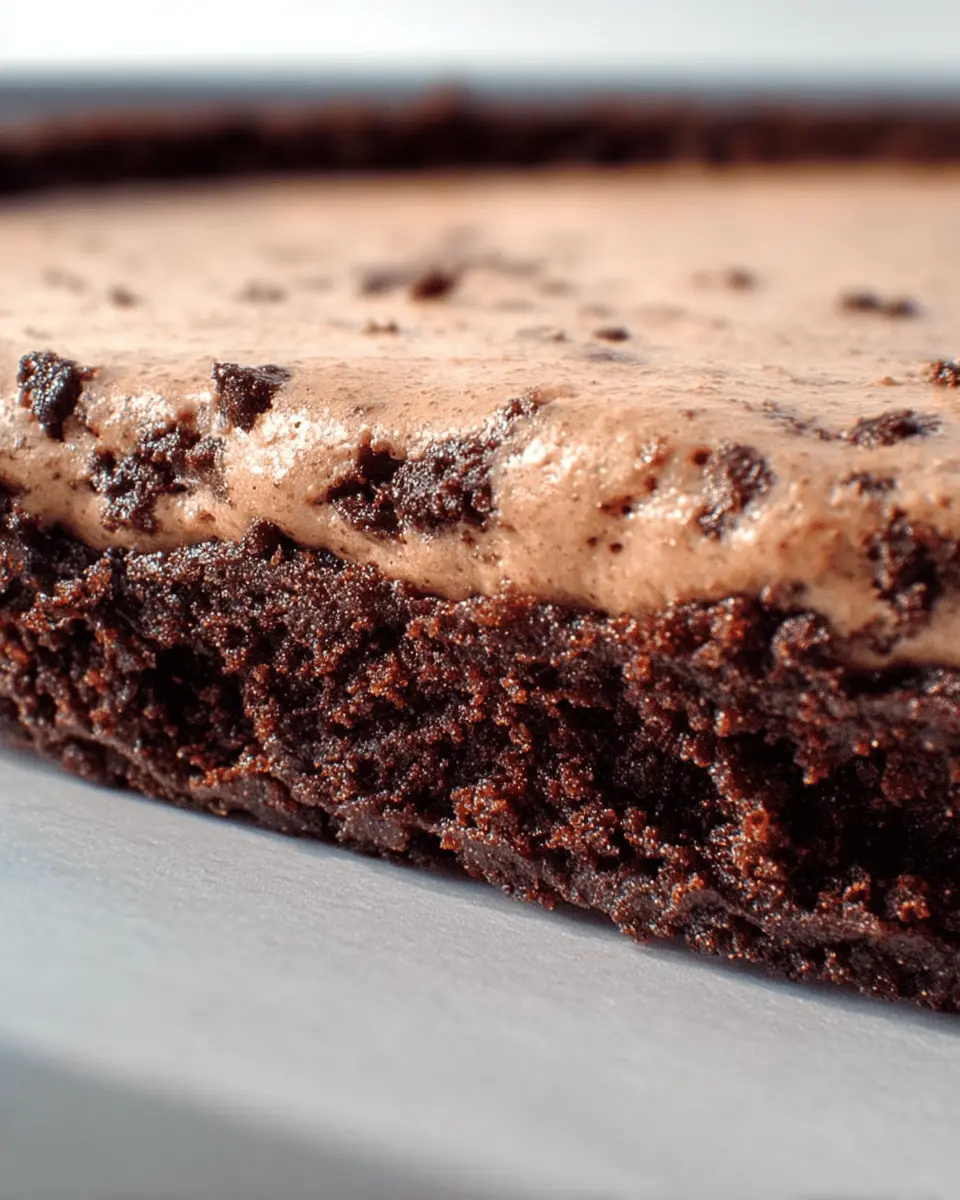
When it comes to whipping up a delicious dessert, the crust can make or break the entire experience. That's why embracing a mock chocolate cookie crust is such a smart move for young professionals. Not only does it simplify the process, but it also cuts down on the time and effort spent in the kitchen. Imagine being able to recreate that delectable chocolate wafer crust you love, but with just five straightforward ingredients.
Homemade crusts are a game-changer for busy lifestyles. They allow you to control what goes into your food and avoid pesky preservatives often found in store-bought options. Plus, making your own crust can be a fun, budget-friendly activity. Think of it as a simple way to impress friends at your next gathering—everyone loves a delicious pie!
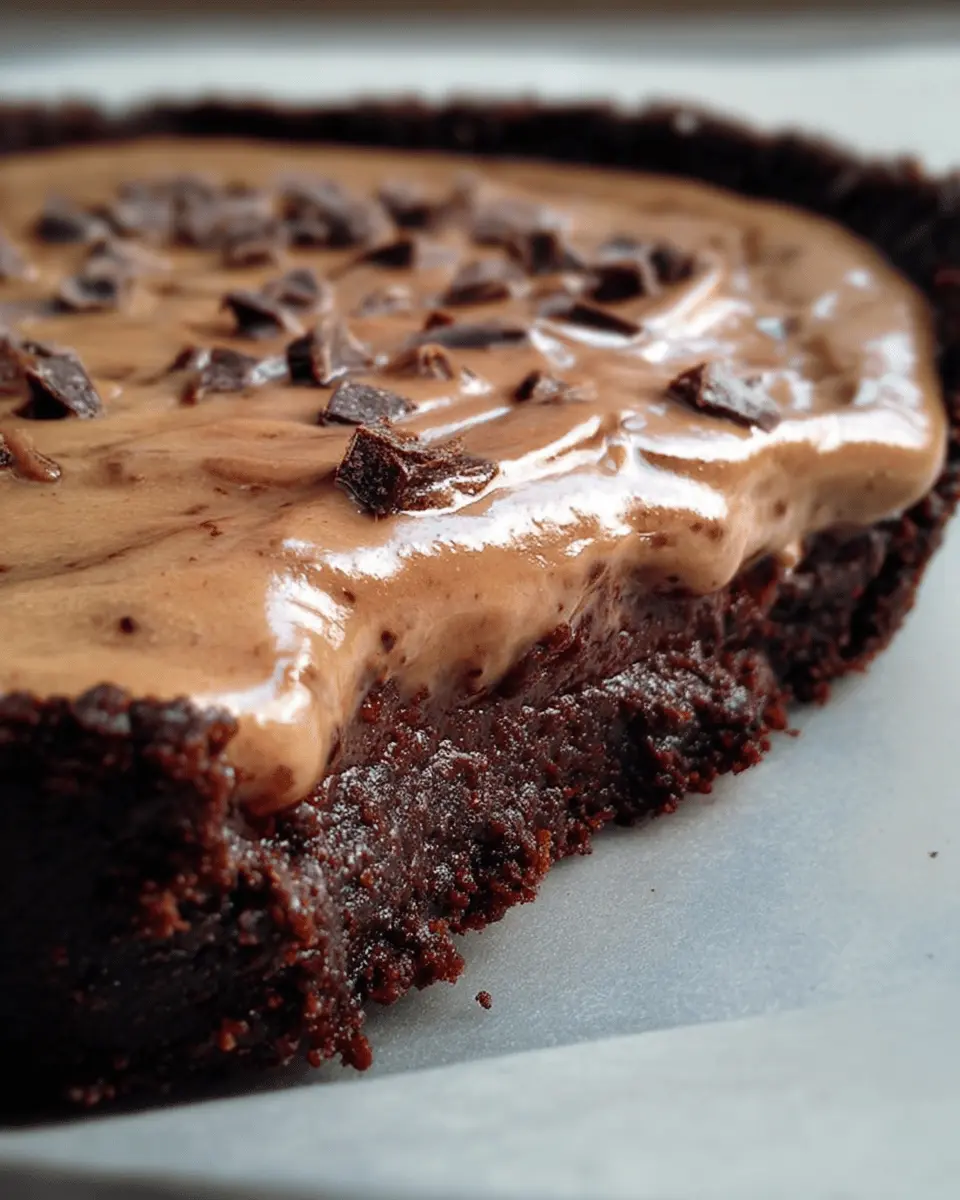
The mock chocolate cookie crust is versatile, too. Whether you’re baking a rich cheesecake, a fun tart, or just need a base for your favorite fillings, this crust fits the bill perfectly. With only about 15 minutes of prep and bake time, it's an ideal choice for those spontaneous dessert cravings or small celebrations.
For more insights on creating delicious desserts from scratch, check out this informative article from thekitchn.com.
Ingredients for Mock Chocolate Cookie Crust
Creating a mock chocolate cookie crust is easy with just five simple ingredients that you likely already have in your pantry. Let’s break them down:
-
White Sugar: 1 ¼ cups of this sweet staple enhances the cocoa's flavor, giving your crust that irresistible sweetness.
-
All-Purpose Flour: ⅔ cup of all-purpose flour adds structure to your crust, ensuring it holds together beautifully when you slice into it.
-
Unsweetened Cocoa Powder: A key component, ¾ cup of unsweetened cocoa powder is what gives your crust that rich, chocolatey flavor. It’s the secret to mimicking the taste of traditional chocolate wafer cookies.
-
Salt: Just a pinch of salt balances the sweetness and elevates all the flavors in your crust.
-
Melted Butter: ½ cup of melted butter brings everything together, offering that delightful buttery texture we all crave in pie crusts.
These five ingredients work in harmony to create a delicious and easy mock chocolate cookie crust that pairs perfectly with a variety of fillings. Plus, you’ll enjoy the process! For tips and variations on this recipe, check out The Kitchn or Serious Eats. Happy baking!
Preparing the Mock Chocolate Cookie Crust
Creating a mock chocolate cookie crust is an effortless way to elevate your dessert game without the hassle of traditional baking. Let’s walk through each easy step—from gathering your ingredients to that magical moment when you pull your crust from the oven.
Gather Your Ingredients
Before jumping into the mixing and baking, it’s essential to have everything laid out. Here’s what you’ll need:
- 1 ¼ cups white sugar
- ⅔ cup all-purpose flour
- ¾ cup unsweetened cocoa powder
- A pinch of salt
- ½ cup butter, melted
By gathering these elements first, you’ll streamline the process and save yourself some stress. It’s also a good idea to preheat the oven to 325 degrees F (165 degrees C) now—you’ll be thankful later when everything is ready to go!
Mix Dry Ingredients
In a medium-sized mixing bowl, combine the dry ingredients—sugar, flour, cocoa powder, and salt. Whisk them together until they are thoroughly blended. The cocoa should be well-incorporated, producing a rich, dark mixture that hints at the flavor to come. If you’re a fan of fun kitchen tricks, consider using a sifter to fluff up your cocoa powder, which can help create a smoother crust.
Incorporate the Melted Butter
This is where the magic starts to happen! Pour your melted butter directly into your dry mixture. Give it a good stir to combine everything evenly. You want your mixture to become slightly crumbly yet cohesive enough to form a dough when pressed. If it’s too dry, feel free to add a teaspoon more melted butter until you reach that perfect consistency.
Press the Mixture into Your Pie Pan
Now for the fun part—pressing your dough into the pie pan! Use your fingertips to evenly spread and press the mixture across the bottom and up the sides of a 9-inch pie pan. Take a moment to ensure it’s even. The crust will set beautifully while baking, so a good initial shape will yield great results. If you find your hands getting sticky, consider using a piece of parchment paper to help flatten it without making a mess.
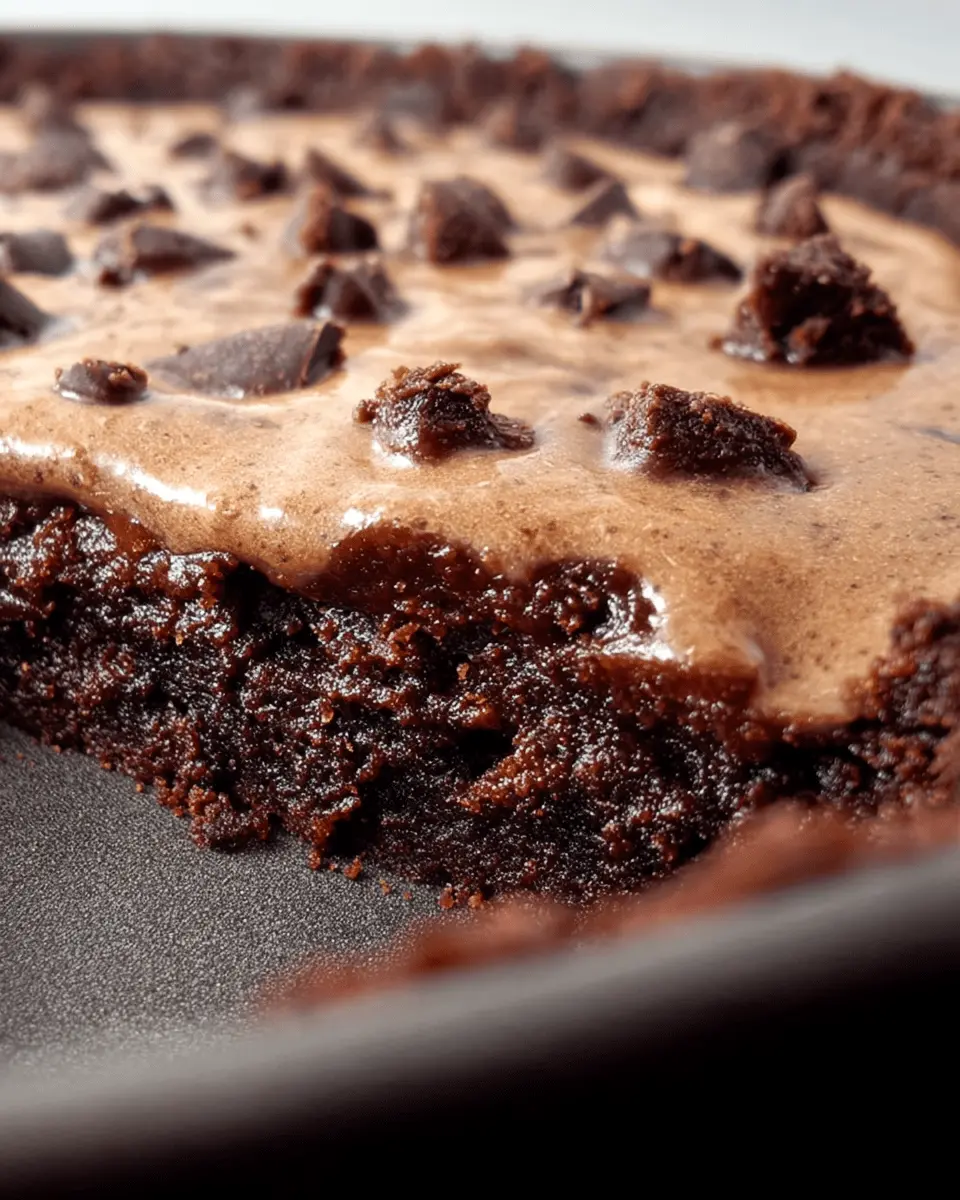
Bake Until Perfection
Place your pie pan in the preheated oven and let it bake for about 10 minutes. Keep an eye on it; it should be set around the edges and may bubble slightly in the center. When it’s done, allow it to cool completely before filling it with your favorite pie or dessert. Some say the crust is even better once it's cooled—perfectly complimenting whatever filling you choose!
How’s that for a simple, fun, and delicious mock chocolate cookie crust? If you're looking for creative filling ideas, check out some popular recipes here! Happy baking!
Variations on Mock Chocolate Cookie Crust
How to adapt for different pie types
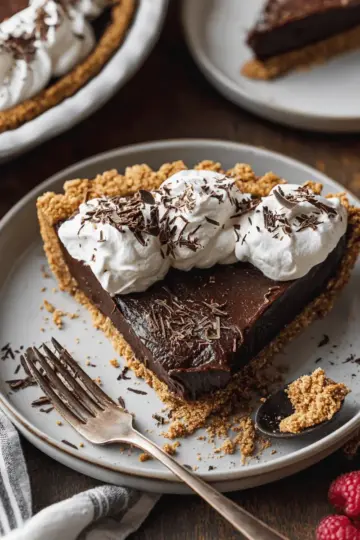
The beauty of this mock chocolate cookie crust is its versatility. Whether you're making a rich cheesecake or a fruit pie, it can easily be adapted! For a cheesecake, consider slicing back on the sugar slightly for a balanced flavor. If you want to use it for a no-bake pie, chill the crust afterwards to set it perfectly without baking. For cream pies, add a layer of melted chocolate—hello, extra richness!
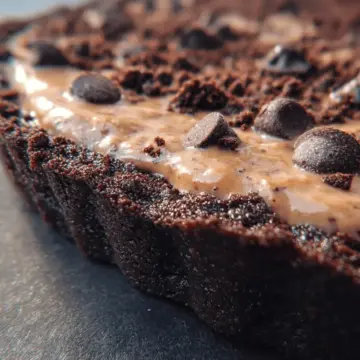
Creative twists to enhance flavor
Looking to elevate your mock chocolate cookie crust? Experiment with:
- Nut butters: Swirl in almond or peanut butter for an added dimension.
- Spices: A dash of cinnamon or espresso powder can deepen the chocolate flavor.
- Mint: Add a few drops of peppermint extract for refreshing zing.
Each of these variations can bring a personal touch to your crust that will truly impress your guests! Check out more inspiration here to get those creative juices flowing!
Cooking notes for Mock Chocolate Cookie Crust
Tips for an even bake
When making your mock chocolate cookie crust, consistency is key for that perfect bake. Ensure you press the crust evenly into the pie pan—this helps it cook uniformly. If you notice any cracks forming while baking, simply press them together gently with the back of a spoon. Consider using parchment paper to line the bottom of your pie pan for easier removal once baked.
Recommended equipment for ease
To make preparing this crust a breeze, invest in a good tart tamper or a flat measuring cup; they work wonders in creating an even crust. Also, a mixing bowl and whisk are essential for combining your ingredients smoothly. For easier cleanup, use a silicone spatula to scrape down the bowl and pan. Lastly, if you’re planning on making multiple crusts, a set of nesting pie pans can save you storage space and time. Happy baking!
Serving Suggestions for Mock Chocolate Cookie Crust
Perfect fillings for your crust
Your mock chocolate cookie crust is incredibly versatile! Consider these delightful fillings:
- Cheesecake: A rich, creamy cheesecake filling pairs wonderfully, offering a decadent treat.
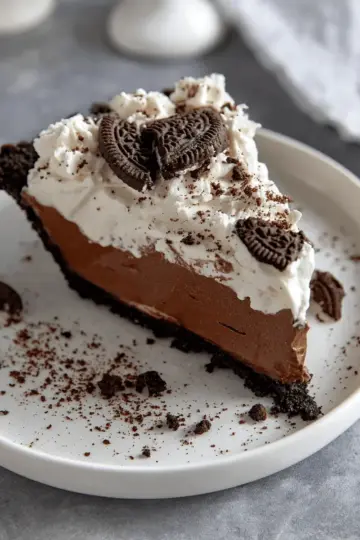
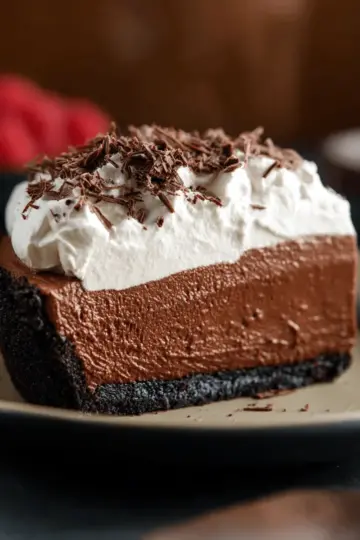
- Chocolate Mousse: Light and airy chocolate mousse will elevate the crust's flavors.
- Fruit Cream Pie: Swap in your favorite seasonal fruits and a light cream filling for a refreshing twist.
For detailed filling recipes and tips, check out Sally’s Baking Addiction.
Creative presentation ideas
To make your dessert stand out, think beyond the conventional pie dish! Here are a couple of presentation tips:
- Mini Tarts: Use the crust for individual mini tarts, perfect for entertaining.
- Layered Desserts: Create a layered parfait with your filling and toppings in clear glasses for a stunning visual treat.
These easy adaptations will help you impress your friends and family with minimal effort. Enjoy!
Time Breakdown for Mock Chocolate Cookie Crust
Preparation time
Get ready to whip up this delicious mock chocolate cookie crust in just 5 minutes! That’s right; with only a few ingredients to combine, you'll be halfway to dessert before you even know it.
Baking time
Let your crust bake for about 10 minutes. This ensures that it achieves the perfect crusty texture without over-drying.
Total time
In a mere 15 minutes, you can have a mock chocolate cookie crust that’s ready for any pie or dessert you want to create. Quick, easy, and oh-so-delicious! Want to learn how to make delicious fillings? Check out The Spruce Eats for some great ideas.
Nutritional Facts for Mock Chocolate Cookie Crust
Calories per serving
Each serving of this mock chocolate cookie crust contains approximately 279 calories, making it a delightful indulgence without derailing your dietary goals.
Key nutrition highlights
- Total Fat: 13g (Saturated Fat: 8g)
- Cholesterol: 31mg
- Sodium: 84mg
- Total Carbohydrates: 44g (Dietary Fiber: 3g, Total Sugars: 31g)
- Protein: 3g
- Calcium: 16mg
- Iron: 2mg
- Potassium: 138mg
This crust packs a satisfying balance with a dose of iron and potassium, which can be beneficial for overall health. For more insights on nutritional values, you can check out sources like USDA Food Composition Databases or NutritionData. It's a tasty way to elevate your dessert game while keeping an eye on what you're eating!
FAQs about Mock Chocolate Cookie Crust
How can I make it gluten-free?
If you're looking to transform this mock chocolate cookie crust into a gluten-free option, simple substitutions can work wonders. Use a gluten-free flour blend in place of all-purpose flour. Make sure the blend is measured correctly for optimal texture—you want your crust to maintain that delightful crumbly consistency. Brands like Bob’s Red Mill or King Arthur offer reliable alternatives that can seamlessly integrate into this recipe.
What's the best way to store leftovers?
Leftovers, if you have any, can be stored easily! Seal your mock chocolate cookie crust in an airtight container or wrap it tightly in plastic wrap. It keeps best in the refrigerator for up to a week. For longer storage, consider freezing it for up to three months. Just let it thaw in the fridge overnight before using—this way, your crust will be just as delicious!
Can this be made in advance?
Absolutely! Preparing your mock chocolate cookie crust ahead of time is a great idea for busy weeks. You can make the crust and refrigerate it for 2-3 days before filling. If you prefer, bake it, let it cool completely, and then store it in the freezer until you're ready to serve your favorite pie. This way, you’re set up for an effortless dessert experience when the time comes!
For more tips on meal prep, check out this helpful guide on meal prepping.
Conclusion on Mock Chocolate Cookie Crust
In summary, the mock chocolate cookie crust offers an incredibly simple and delightful option for your dessert needs. With just five ingredients, you can create a delicious base that rivals traditional cookie crusts. So why not give it a try? Your taste buds will thank you!
For more tips on enhancing your baking, check out this baking resource and consider experimenting with various fillings for your crust. Happy baking!
Mock Chocolate Cookie Crust
Equipment
- 9-inch pie pan
Ingredients
- 1 ¼ cups white sugar
- ⅔ cup all-purpose flour
- ¾ cup unsweetened cocoa powder
- 1 pinch salt
- ½ cup butter, melted
Instructions
- Preheat oven to 325 degrees F (165 degrees C).
- Whisk sugar, flour, cocoa powder, and salt together in a bowl until thoroughly combined. Pour melted butter into the mixture and stir to incorporate. Press dough into the bottom and up the sides of a 9-inch pie pan.
- Bake crust in preheated oven until the sides are firm and the bottom bubbles slightly, about 10 minutes.
Leave a Reply