
Introduction to No-Bake Blue Raspberry Dream Bars
If you're looking for a delightful dessert that wows your guests without heating up the kitchen, no-bake desserts are the way to go! These treats save you from the oven hustle and offer a great solution for hot summer days or if you're short on time. Think about it: no baking means fewer dishes and a quicker clean-up, allowing you to savor every moment spent with your friends and family.
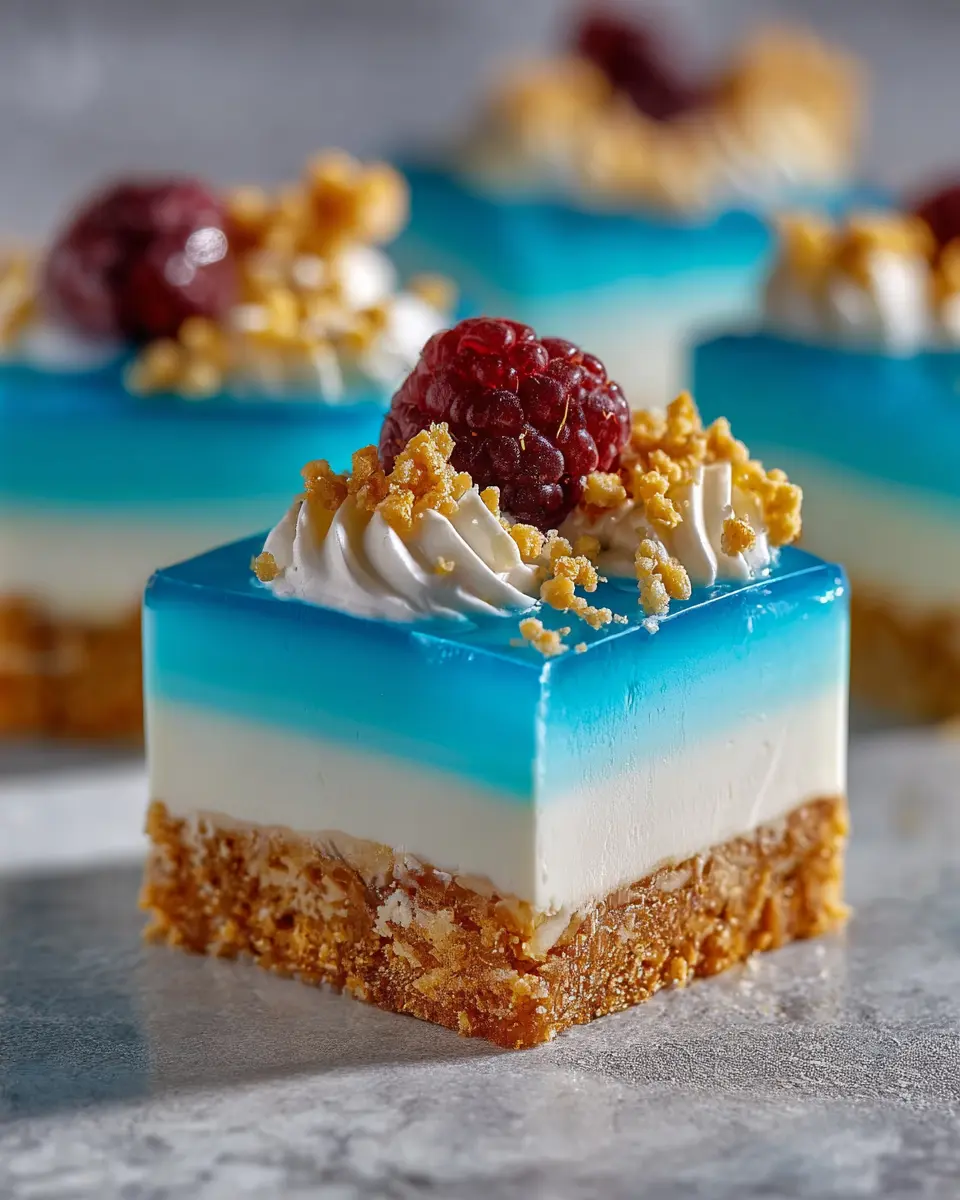
When it comes to desserts that strike a balance between appearance and taste, No-Bake Blue Raspberry Dream Bars are a standout choice. The visual allure of these vibrant blue bars will excite your guests’ taste buds before they even have a bite. The combination of velvety cream cheese with a tangy blue raspberry layer creates an indulgent experience that satisfies both the sweet and tart cravings.
Plus, this recipe is incredibly versatile. Don’t hesitate to switch up flavors—try matching colors with your favorite fruits or even experimenting with different extracts. For more insights on the benefits of no-bake desserts, check out this article. You’ll see why their charm has captivated dessert lovers everywhere!
Ingredients for No-Bake Blue Raspberry Dream Bars
Creating No-Bake Blue Raspberry Dream Bars is simple and satisfying. Here’s what you’ll need to gather to bring these delightful treats to life:
- 1.5 cups Nilla wafer cookie crumbs (about 45 cookies): This will serve as the delicious crust.
- 5 tablespoons unsalted butter, melted: Helps bind the cookie crumbs together.
- 3 oz blue raspberry gelatin: The star ingredient for that vibrant color and flavor.
- ¾ cup boiling water: Essential for dissolving the gelatin.
- ¾ cup cold water: Balances the temperature of the gelatin.
- 16 oz cream cheese, divided: Creaminess is key!
- 1 teaspoon raspberry extract (optional): For added fruity depth.
- 8-10 drops blue food coloring: Enhances that stunning blue hue.
- 3 cups whipped topping, divided: Lightens the cream cheese mixture.
- 1 cup powdered sugar: Sweetens the filling perfectly.
- 1 teaspoon vanilla extract: A flavor booster.
- Blue sugar or sprinkles for decoration (optional): To add that extra festive touch!
With these ingredients, you’ll be well on your way to impressing friends and family with a show-stopping dessert. Don’t forget to check out this guide on gelatin usage for tips on getting it just right!
Step-by-Step Preparation of No-Bake Blue Raspberry Dream Bars
Making No-Bake Blue Raspberry Dream Bars is not only straightforward, but it's also an enjoyable process that will leave your kitchen smelling delightful. Let’s dive right into the steps!
Prepare the crust
To kick things off, line an 8x8-inch baking pan with parchment paper, which will make it easier to remove your bars later. In a large mixing bowl, combine 1.5 cups of Nilla wafer cookie crumbs with 5 tablespoons of melted unsalted butter. The mixture should have a sandy texture, perfect for forming a crust. Press the crumb mixture firmly into the base of the prepared pan, ensuring it's even and compact. This will serve as the delicious foundation for your dream bars. Pop the pan into the freezer while you prepare the next layers—about 15-20 minutes should do!
Mix and dissolve the gelatin
Once your crust is firm, it’s time to work on the blue raspberry gelatin. Bring ¾ cup of water to a boil, then stir in 3 oz of blue raspberry gelatin until it’s fully dissolved. Next, mix in an additional ¾ cup of cold water to bring the temperature down. Allow the mixture to cool slightly—this should take just a few minutes. You want it to remain liquid for blending, so don’t let it set yet!
Prepare the cream cheese mixture
In a separate bowl, beat 8 oz of cream cheese until soft and creamy. If you’d like a subtle hint of raspberry flavor, add in 1 teaspoon of raspberry extract and a few drops of blue food coloring to achieve that vibrant shade. Gradually mix in the cooled gelatin until you achieve a smooth consistency. Place this mixture in the refrigerator for about 10-15 minutes to thicken without fully setting.
Assemble the layers
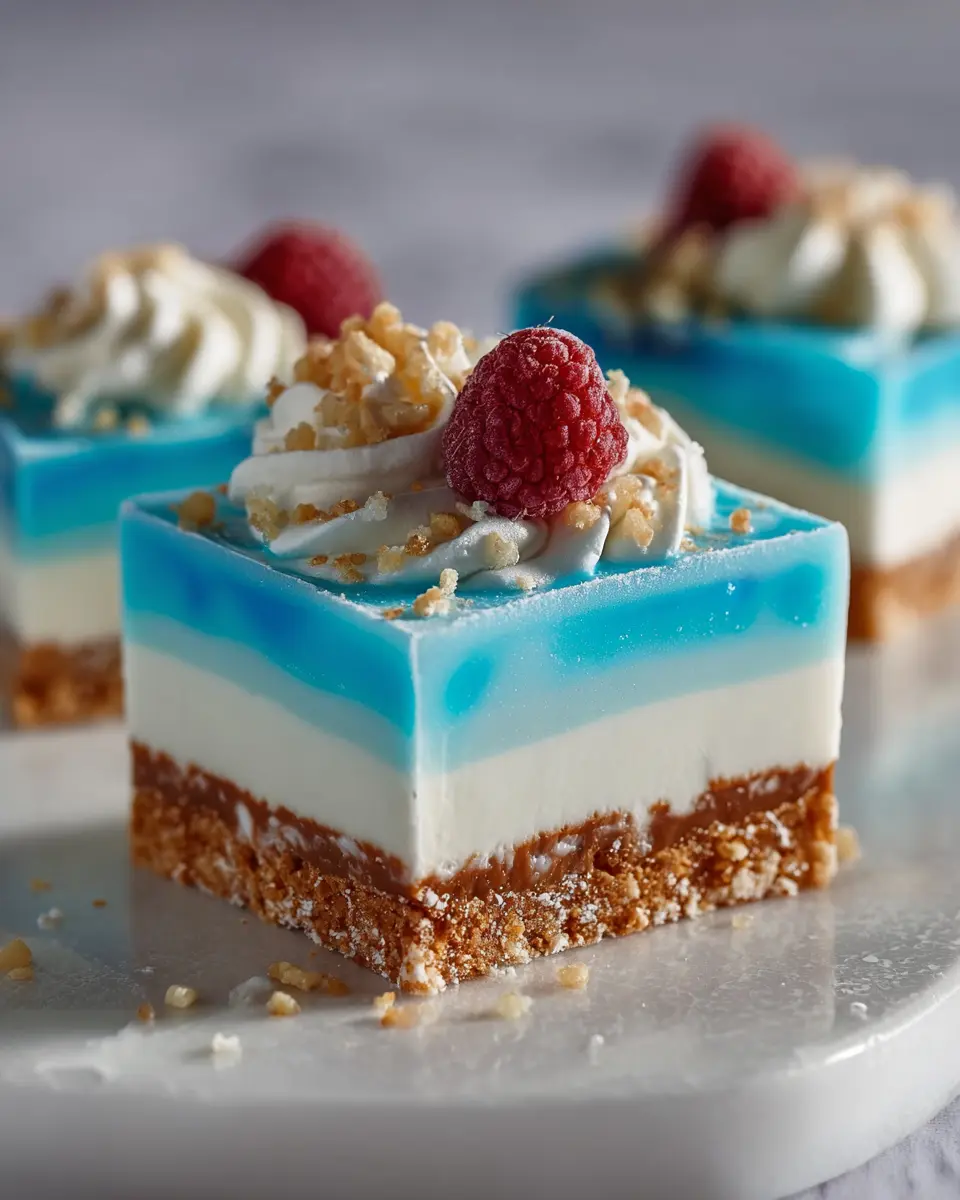
In another bowl, combine the remaining 8 oz of cream cheese with 1 cup of powdered sugar and 1 teaspoon of vanilla extract. Beat until fluffy, and then gently fold in 1.5 cups of whipped topping. This creates a luscious cheesecake layer. Once the mixture has reached a delightful consistency, spread it evenly over your chilled crust. Carefully layer the thickened gelatin mixture over the cheesecake layer, smoothing it out with a spatula for an elegant finish.
Chill and set
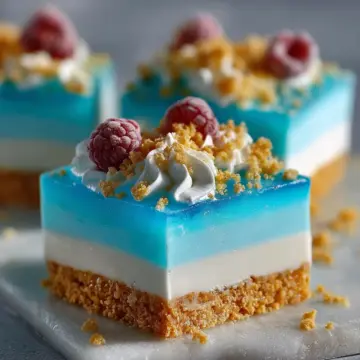
Last but certainly not least, cover your pan with plastic wrap and refrigerate your No-Bake Blue Raspberry Dream Bars for at least 6 hours or ideally overnight. This ensures they set properly, enhancing the flavors even more. When you’re ready to serve, lift them out using the parchment paper, slice with a warm knife, and consider garnishing with blue sugar or sprinkles for that extra touch!
Creating these bars can be as fulfilling as they are delicious. They’re perfect for summer gatherings, picnics, or a sweet treat at home. Enjoy every bite!
Variations on No-Bake Blue Raspberry Dream Bars
Tropical Blue Raspberry Bars
Looking to add a flirty twist to your No-Bake Blue Raspberry Dream Bars? Try adding tropical flavors! Incorporate coconut cream into the cream cheese filling for a luscious texture. Top your bars with fresh pineapple chunks or shredded coconut before chilling. Not only will it brighten up the colorful layers, but that tropical flair will take you straight to a sunny island, even if you’re just enjoying them on your couch.
Vegan Blue Raspberry Dream Bars
If you're exploring plant-based options, you can create scrumptious vegan Blue Raspberry Dream Bars without compromising on taste. Substitute cream cheese with cashew cream or dairy-free cream cheese, and use coconut whipped cream instead of traditional whipped topping. Opt for vegan cookies for the crust, and you’re all set! Everyone will love these decadent treats regardless of their dietary preferences.
For more fun variations, consider mixing in some lemon juice for a zesty kick or swapping blue raspberry gelatin for other fruit flavors. The possibilities are endless!
Cooking Tips and Notes for No-Bake Blue Raspberry Dream Bars
Making No-Bake Blue Raspberry Dream Bars is not only fun but also super easy! Here are some tips to ensure your creation is a hit:
-
Perfect Gelatin: Always measure your water accurately for the gelatin to maintain that perfect texture. Remember, don’t let it set completely before mixing; that could lead to lumps!
-
Whipped Topping Choices: You can swap out whipped topping for homemade stabilized whipped cream for a richer taste, elevating your dessert even further.
-
Setting Time: Patience is key! Refrigerating your bars for at least six hours allows them to set properly, making slicing and serving much easier.
For more tips on achieving the best texture, check out this guide. Happy cooking!
Serving Suggestions for No-Bake Blue Raspberry Dream Bars
When it comes to serving your No-Bake Blue Raspberry Dream Bars, presentation is key! Here are some delightful ideas to elevate your dessert experience:
-
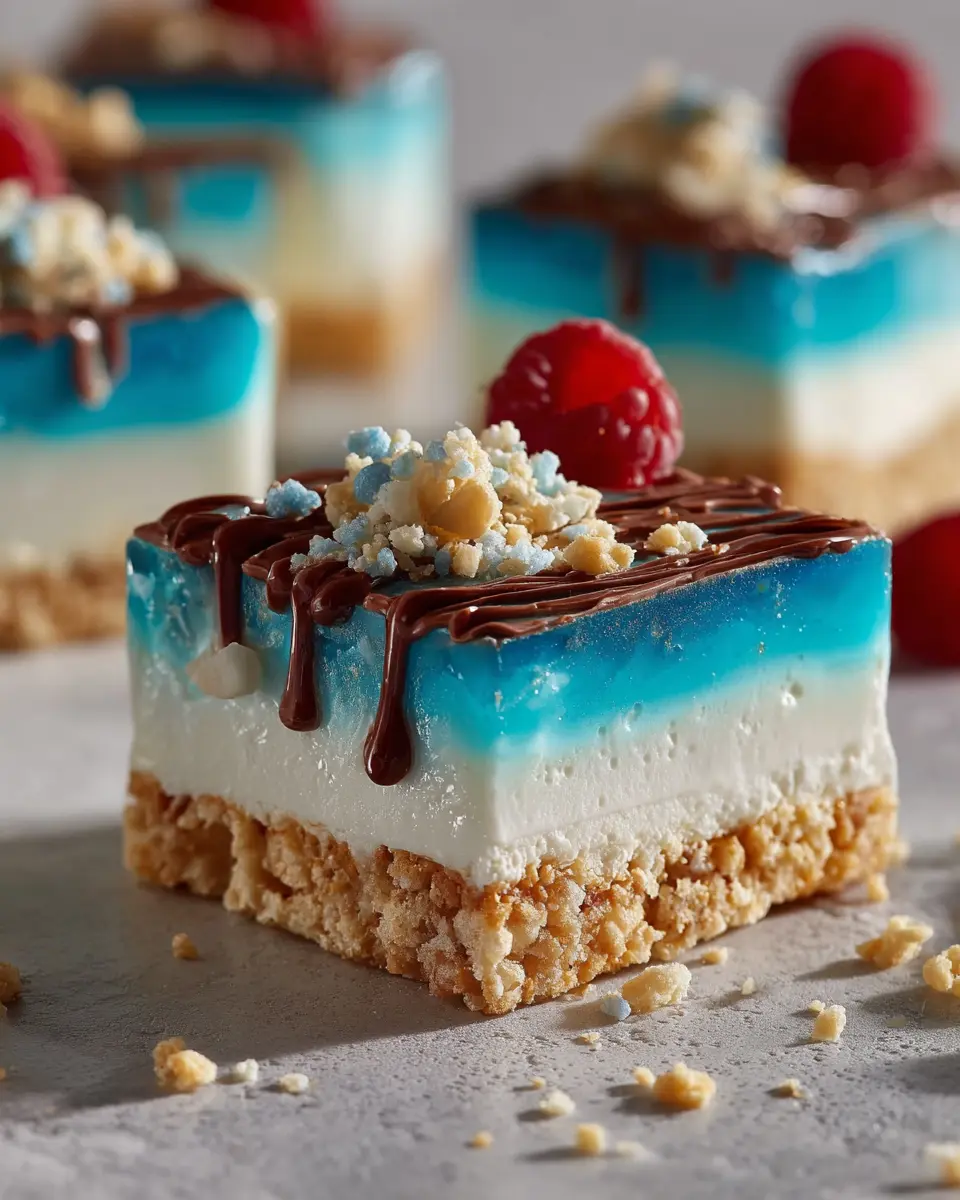
Garnish with Color: Sprinkle some blue sugar or colorful sprinkles on top for a fun, eye-catching finish. Pairing these bars with fresh raspberries or blueberries adds a refreshing touch and enhances their vibrant look.
-
Serving Sides: Consider serving a scoop of vanilla ice cream or a dollop of whipped topping on the side for a creamy contrast, enhancing each bite.
-
Fresh Flavors: A drizzle of raspberry sauce can amplify the fruity flavor, making your bars even more delectable.
-
Creative Plating: Slice and serve these bars on quirky dessert plates, and don’t hesitate to layer in additional touches like mint leaves for a pop of green—it's all about creating an Instagram-worthy moment!
For more inspiration on beautiful desserts, check out this great resource for creative ideas and plating techniques!
Time Breakdown for No-Bake Blue Raspberry Dream Bars
Preparation time
Getting started on your No-Bake Blue Raspberry Dream Bars is a breeze! You’ll only need about 20 minutes for the preparation. This includes mixing the crust, preparing the creamy layers, and getting everything situated in the pan.
Chilling time
Now, the really important part—the bars need to chill in the fridge for at least 6 hours or overnight. This allows those luscious layers to set properly and ensures a perfect slice every time.
Total time
In total, you’re looking at around 6 hours and 20 minutes. While that may seem like a long wait, the hands-on time is minimal, and the end result will be so worth it! For more tips on timing and preparation, check out this chilling guide to elevate your culinary experience!
Nutritional Facts for No-Bake Blue Raspberry Dream Bars
When indulging in No-Bake Blue Raspberry Dream Bars, it’s helpful to know what you’re enjoying! Here’s a quick glance at the nutritional breakdown for a single bar:
Calories
Approximately 210 calories per serving, making it a sweet treat that’s also manageable within a balanced diet.
Protein
These delightful bars contain about 2 grams of protein, thanks to the cream cheese and whipped topping, providing a nice boost without overwhelming calories.
Sugar
With around 14 grams of sugar, these bars pack a fruity punch, satisfying that sweet tooth while still being fun and light.
For more in-depth nutritional insights, check out resources like the USDA FoodData Central for accurate data on ingredients and preparation methods. Enjoy your creating and tasting!
FAQs about No-Bake Blue Raspberry Dream Bars
Can I use fresh fruit instead of gelatin?
While fresh fruit can add a delightful twist, using blue raspberry gelatin is key to achieving the signature flavor and vibrant color of these No-Bake Blue Raspberry Dream Bars. However, if you're feeling adventurous, consider blending a small amount of crushed blueberries or raspberries into your filling for a fruity flair!
How should I store leftover bars?
To keep your No-Bake Blue Raspberry Dream Bars fresh, store them in an airtight container in the refrigerator. They should be good for about 3 to 5 days. For longer storage, you can freeze them! Just wrap individual bars in plastic wrap and place them in a freezer-safe container. Thaw in the fridge before enjoying again.
Can I adjust the sweetness in this recipe?
Absolutely! If you prefer a less sweet dessert, you can reduce the powdered sugar in the cream cheese layer. Just remember, the gelatin also adds sweetness, so adjust according to your taste. Feel free to taste as you go and make this recipe your own!
For more enjoyable tips on desserts, check out this guide on making no-bake treats.
Conclusion on No-Bake Blue Raspberry Dream Bars
In conclusion, No-Bake Blue Raspberry Dream Bars are a delightful treat that combines stunning visuals with incredible flavor. Easy to prepare and perfect for gatherings, these bars are sure to impress your friends and family. Treat yourself to this delicious dessert and enjoy the rave reviews!
No-Bake Blue Raspberry Dream Bars That Look Stunning and Taste Amazing
Equipment
- 8x8-inch pan
- Mixing bowls
- electric mixer
- parchment paper
Ingredients
Crust
- 1.5 cups Nilla wafer cookie crumbs (about 45 cookies)
- 5 tablespoons unsalted butter melted
Filling
- 3 oz blue raspberry gelatin
- ¾ cup boiling water
- ¾ cup cold water
- 16 oz cream cheese divided
- 1 teaspoon raspberry extract (optional)
- 8-10 drops blue food coloring
- 3 cups whipped topping divided (plus extra for serving)
- 1 cup powdered sugar
- 1 teaspoon vanilla extract
- blue sugar or sprinkles for decoration (optional)
Instructions
Preparation
- Line an 8×8-inch pan with parchment paper. Mix the cookie crumbs with melted butter, then press firmly into the bottom of the pan. Freeze until firm.
- Dissolve the blue raspberry gelatin in boiling water, then stir in cold water. Let it cool slightly but remain liquid.
- Beat half of the cream cheese with raspberry extract and blue coloring. Slowly mix in the cooled gelatin until smooth, then refrigerate until slightly thickened.
- In another bowl, beat the remaining cream cheese with powdered sugar and vanilla extract. Fold in part of the whipped topping until light and fluffy.
- Spread the cheesecake mixture evenly over the chilled crust.
- Fold the remaining whipped topping into the thickened gelatin mixture, then gently spread over the cheesecake layer.
- Refrigerate for at least 6 hours or overnight until fully set. Lift out using parchment, slice with a warm knife, and garnish before serving.

Leave a Reply