
Introduction to Jellycat Birthday Cake
Creating a homemade cake can elevate any celebration, and the Jellycat Birthday Cake simply takes the cake—literally! This scrumptious treat is not just about flavor; it’s about crafting something special that reflects your creativity. But why choose a homemade cake over store-bought options?
Why Choose a Homemade Cake Over Store-Bought?
When you whip up a cake from scratch, you have control over the ingredients and can customize it to your liking. Store-bought cakes often contain preservatives and artificial flavors, while homemade varieties allow you to use fresh, high-quality ingredients. Did you know that nearly 9 out of 10 people believe homemade meals are healthier than pre-packaged ones? This is particularly true for cakes, where the love you put into every batter and layer shines through.
Plus, there's a unique joy in baking—it’s more than just a recipe; it’s an experience that can be shared with loved ones. Imagine the smiles as you unveil your adorable Jellycat-inspired cake! Not to mention, it makes for stunning photos, a perfect memory for every birthday celebration.
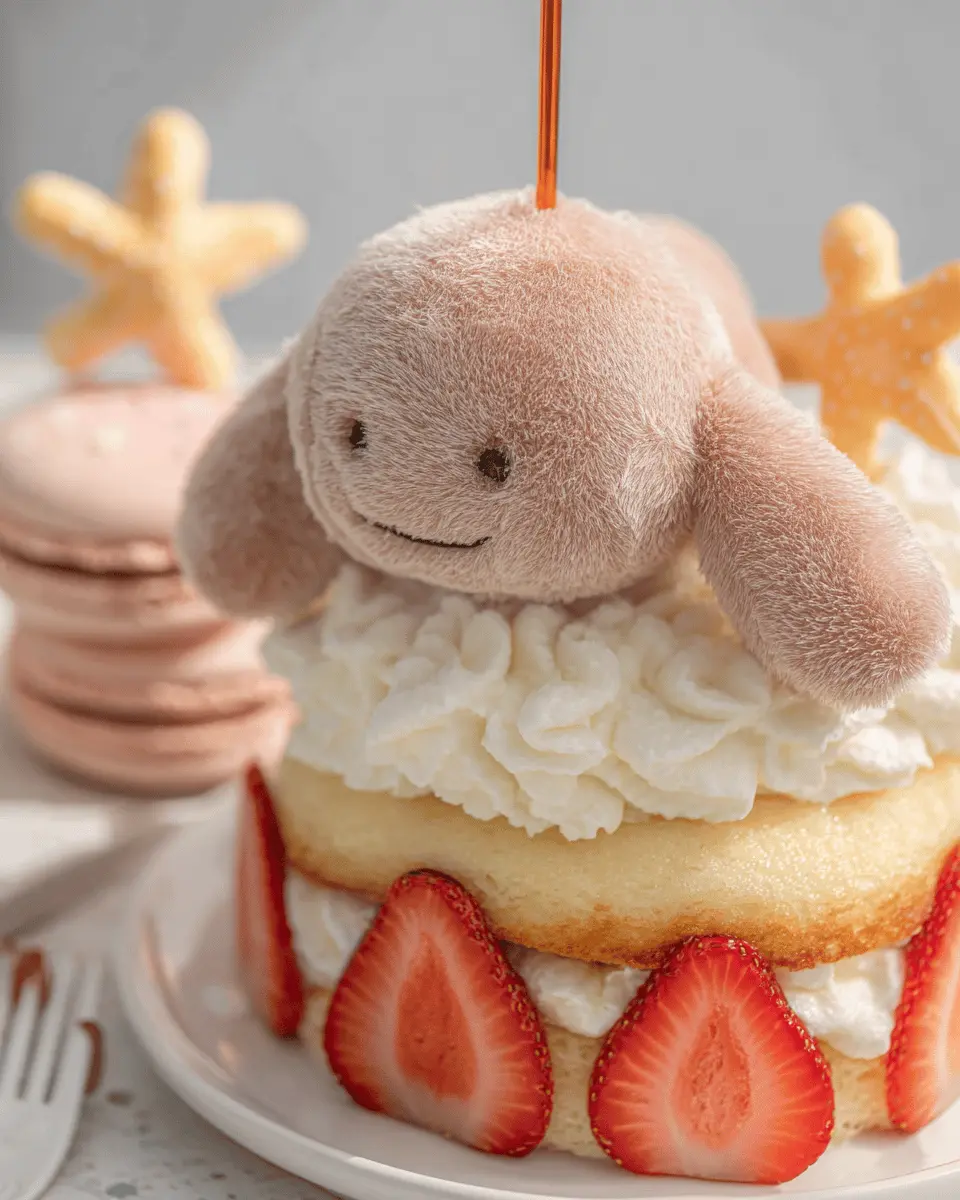
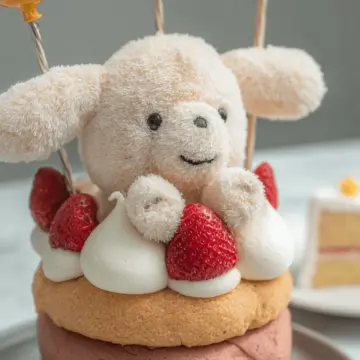
By choosing to bake a Jellycat Birthday Cake, you’re opting for a delightful combination of soft vanilla sponge, whipped cream, and tangy strawberries, creating a masterpiece that’s too cute to eat. So gather your ingredients, and let’s get started on this charming cake-making journey together!
Ingredients for Jellycat Birthday Cake
Creating a delightful Jellycat Birthday Cake is not just about the flavor; it’s about the fun you’ll have while baking! Here’s a handy breakdown of the essential elements you’ll need to whip up this charming treat.
Essential Ingredients for the Light Sponge Cake
For a soft and airy sponge, you'll need:
- 4 large egg yolks
- 1 ½ tablespoon hot water
- 2 teaspoon vanilla essence
- 2 tablespoon vegetable oil
- 65g granulated sugar (divided into two portions)
- 40g all-purpose flour
- 60g cornstarch
- ¼ teaspoon baking powder
- A pinch of salt
- 4 egg whites
These ingredients come together to create a beautifully light sponge that serves as the perfect base for your cake.
Ingredients for the Whipped Cream
To complement your sponge cake, a luscious whipped cream filling is key. Gather:
- 360ml thickened cream
- 100g granulated sugar
- 1 teaspoon vanilla extract
This delightful cream adds a layer of sweetness and richness that pairs perfectly with the strawberries.
Decorative Elements for a Jellycat Theme
To bring your Jellycat Birthday Cake to life, you’ll want some fun decorations. Here’s what you need:
- Brown fondant for shaping into cute legs
- Black food coloring for detailing
- 7 large strawberries to brighten up and enhance the cake's flavor
With these ingredients, you’re well on your way to creating an adorable and delicious Jellycat Birthday Cake that will impress and delight all ages!
Step-by-step preparation of Jellycat Birthday Cake
Making a Jellycat Birthday Cake is not only a delightful culinary adventure but a chance to bring a smile to any celebration! It’s soft, fluffy, and filled with light whipped cream and juicy strawberries. Let’s dive into the step-by-step preparation to create this charming treat.
Preheat oven and prepare cake tins
First things first—preheat your oven to 160°C (320°F). This ensures your cake bakes evenly. While the oven warms up, take two 6-inch cake tins and line their bottoms with parchment paper. You can lightly grease the sides with butter or cooking spray to make it easy to remove the cakes later. Gathering your ingredients and tools beforehand will make the process smooth and enjoyable.
Create the base batter for the sponge cake
Now, let’s whip up that beautiful sponge cake! In a large bowl, combine 1 ½ tablespoons of hot water with 65g of granulated sugar. Whisk in 4 large egg yolks and 2 teaspoons of vanilla essence until the mixture doubles in size and becomes light and fluffy. Slowly mix in 2 tablespoons of vegetable oil for added moisture.
Sift together 40g of all-purpose flour, 60g of cornstarch, ¼ teaspoon of baking powder, and a pinch of salt before gently folding it all into your egg mixture. In another bowl, beat 4 egg whites until foamy, then gradually add another 65g of sugar, continuing until you see those strong, stiff peaks. Gently fold the egg whites into your yolk mixture, being careful not to deflate that airy texture. Pour the batter into your prepared tins and bake for about 25 minutes.
Whip up the delightful whipped cream
While the cakes are baking, let’s prepare the whipped cream! Grab a large bowl (chilled if possible for quicker results) and combine 360ml of thickened cream, 100g of granulated sugar, and 1 teaspoon of vanilla extract. Whip this mixture on high speed until you see stiff peaks forming—this should take just a few minutes. Once done, transfer the whipped cream into a piping bag fitted with a large round tip for easy decoration later.
Assemble the layers of the cake
Once your cakes are cool, it’s assembly time! Place one cake layer on your serving plate. Pipe blobs of whipped cream around the edges to create a beautiful border, then layer on some freshly sliced strawberries. Place the second cake layer on top and repeat the process. For a pop of color, cut the remaining strawberries in half and neatly arrange them on top.
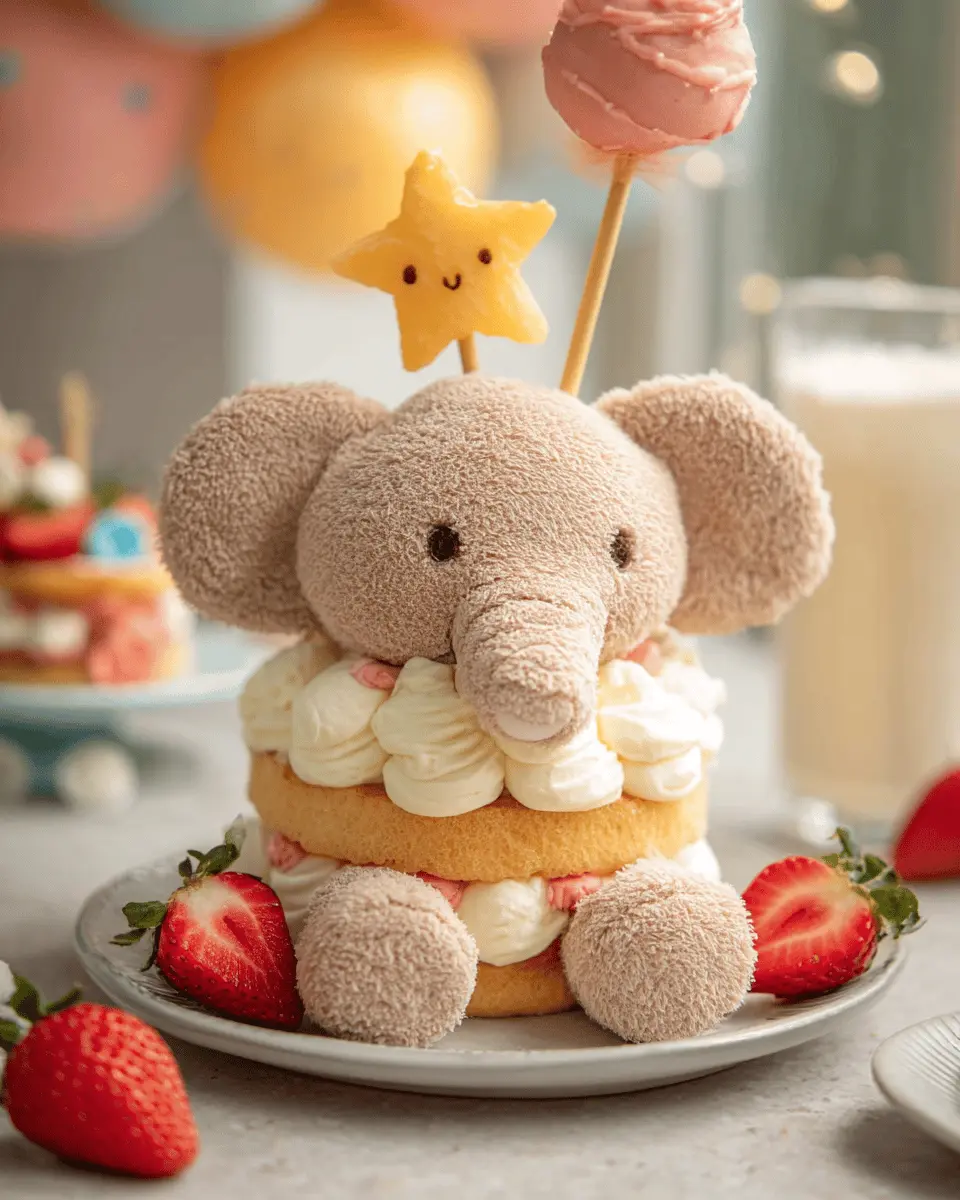
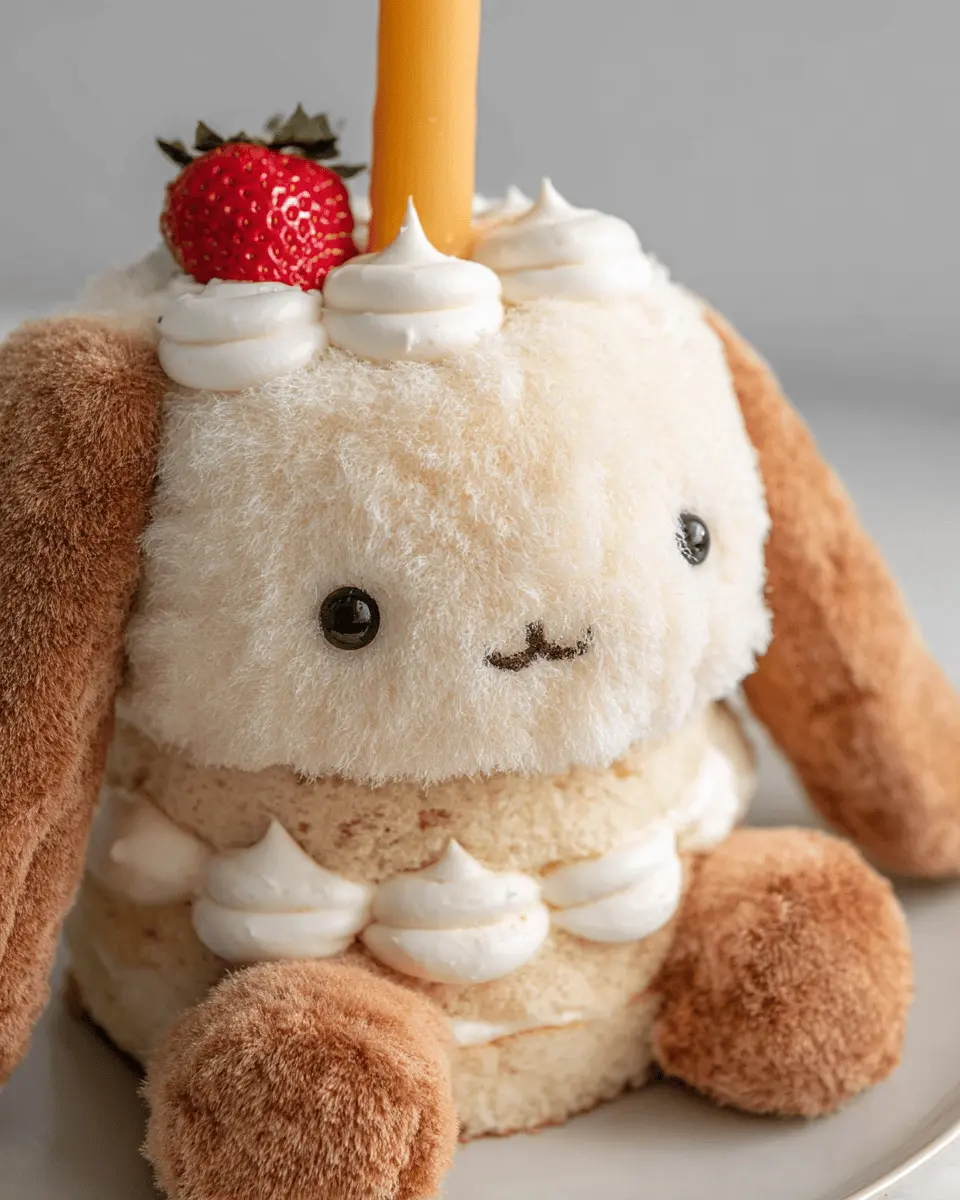
Add decorative touches to mimic Jellycat
Finally, let's get creative! To mimic that adorable Jellycat style, dye any leftover whipped cream with black food coloring and pipe a friendly face onto the top. For an extra touch, shape some brown fondant into little legs, placing them on either side of the face. This not only enhances the look but also gives it a professional finish.
Remember, the joy of baking is not just in the final product but in the process itself! Enjoy making your Jellycat Birthday Cake, and don’t forget to snap some pictures before it’s devoured! For more inspiration, check out these baking tips or the history of birthday cakes.
Variations on Jellycat Birthday Cake
Strawberry Shortcake Variation
If you're a fan of berry-filled delights, the Strawberry Shortcake Variation of the Jellycat Birthday Cake is a must-try. Simply substitute the whipped cream with a combination of Greek yogurt and whipped cream for a tangier filling. Add layers of fresh strawberries and macerated strawberries for extra flavor. This variation is not only delicious but also visually stunning!
Chocolate Sponge Version
For chocolate lovers, create a Chocolate Sponge Version of the Jellycat Birthday Cake by swapping in chocolate cake layers for the vanilla sponge. Just incorporate unsweetened cocoa powder into your dry ingredients. Pair it with chocolate whipped cream and add chocolate-shaved decorations for a truly decadent treat. This version is perfect for a rich, indulgent birthday celebration!
Explore more cake ideas and variations here to inspire your baking adventures!
Cooking Tips and Notes for Jellycat Birthday Cake
Key Baking Techniques for the Perfect Sponge
To achieve the fluffy texture of the Jellycat Birthday Cake, pay close attention to folding techniques. Incorporate the egg whites gently into the yolk mixture to maintain volume. Be mindful of your oven temperature; an oven thermometer ensures accuracy since even minor fluctuations can affect your sponge’s rise. Avoid over-mixing the batter once the dry ingredients are added—a light touch is key to preserving airiness.
Storing and Handling Tips for Whipped Cream
Whipped cream is best enjoyed fresh, but if you need to prepare it ahead of time, keep some tips in mind. Store your whipped cream in an airtight container in the fridge, layering plastic wrap directly on the surface to prevent it from drying out. To help maintain its texture, avoid over-whipping; stop once stiff peaks form. If it starts to deflate, a quick whisk before assembly can bring it back to life. For more tips on cream storage, check out sources like The Kitchn.
Serving suggestions for Jellycat Birthday Cake
Perfect pairings for your birthday celebration
When serving your delightful Jellycat Birthday Cake, consider pairing it with refreshing beverages and treats. Sparkling water infused with fresh fruit adds a celebratory touch, while a side of tangy lemon sorbet complements the cake's sweetness beautifully. For those looking to keep it light, a simple fruit salad or yogurt parfait can round out the dessert table.
Creative serving ideas for a themed party
Transform your Jellycat Birthday Cake into the star of a whimsical tea party or a fun-filled children's bash! Decorate your serving area with plush toys resembling Jellycat friends, and use pastel-colored tableware to enhance the theme. For an interactive twist, provide colorful frosting and sprinkles so guests can customize their cake slices! Not only does this add excitement, but it also sparks creativity. To learn more about hosting themed parties, visit The Spruce.
Time Breakdown for Jellycat Birthday Cake
Planning to whip up a delightful Jellycat Birthday Cake? Here’s a quick overview of how your time will be spent:
Preparation Time
Set aside about 30 minutes to gather your ingredients and prepare the cake batter. This includes whisking, folding, and lining those cake tins!
Baking Time
Your cake will need approximately 30 minutes in the oven. Keep an eye on it; you want those cakes to be light and fluffy!
Total Time
In total, you're looking at around 1 hour from start to finish, not including chilling time. Perfect for a festive occasion or a simple treat!
For tips on perfecting your baking technique, you can check out resources like The Kitchn. Happy baking!
Nutritional Facts for Jellycat Birthday Cake
Calories per slice
Each slice of the Jellycat Birthday Cake contains approximately 210 calories. This makes it a delightful indulgence for special occasions without completely derailing your daily caloric intake.
Sugar content
With around 15 grams of sugar per slice, this cake balances taste and sweetness. While it's perfect for celebrating a birthday, moderation is key to enjoying treats like this!
Protein details
Each slice offers about 3 grams of protein, thanks to the eggs and cream in the recipe. While it won’t replace your post-workout shake, it contributes to your overall intake in a delicious way!
For more insights on the health benefits of ingredients used in your baking, consider checking resources like Healthline or Nutrition.gov. Enjoy making this charming cake with the confidence that you know what's in it!
FAQs about Jellycat Birthday Cake
How can I make this cake dairy-free?
To transform your Jellycat Birthday Cake into a dairy-free delight, simply substitute the thickened cream with coconut cream or any plant-based whipping cream. Ensure the granulated sugar you use is refined and free from bone char. For the cake batter, swap regular vegetable oil for a vegan butter alternative or even applesauce to maintain moisture and flavor!
What is the best way to frost a cake?
Frosting a cake can be a work of art! Begin by chilling your cake layers for about an hour—this will make them easier to handle and frost. Start with a thin layer of whipped cream to lock in crumbs, then spread a generous amount on top and sides, using an offset spatula for a smooth finish. For a creative touch on your Jellycat Birthday Cake, consider piping decorative borders or patterns to add visual charm.
How long can I store this cake before serving?
The Jellycat Birthday Cake can be stored in the refrigerator for up to 3 days. However, for the freshest taste, it's best served within 1-2 days. Make sure to cover the cake with a cake dome or plastic wrap to keep it from drying out. If you're planning to make it ahead of time, consider assembling it the day before serving for optimal freshness.
Conclusion on Jellycat Birthday Cake
Celebrating with sweetness: Why every slice counts!
The Jellycat Birthday Cake isn’t just a dessert; it’s a celebration in edible form! Each slice serves up a delightful blend of soft sponge, fluffy whipped cream, and vibrant strawberries that brings joy to any occasion. So, gather your loved ones, slice generously, and relish each moment of sweetness! Whether you're making it for a birthday or just because, this cake embodies the spirit of togetherness—because every slice counts! Celebrate life’s sweet moments with your own Jellycat creation. For more sweet inspirations, check out this link on birthday treats!
Jellycat Birthday Cake
Equipment
- oven
- Mixing bowls
- Whisk
- Piping Bag
- Cake Tins
- wire rack
Ingredients
Light sponge cake
- 4 Large egg yolks
- 1.5 tablespoon hot water
- 2 teaspoon Vanilla essence
- 2 tablespoon Vegetable oil
- 65 g Granulated sugar (I) (⅓ cup)
- 40 g All purpose flour (⅓ cup)
- 60 g Cornstarch (½ cup)
- 0.25 teaspoon Baking powder
- Pinch salt
- 4 Egg whites
- 65 g Granulated sugar (II) (⅓ cup)
Whipped cream
- 360 ml Thickened cream
- 100 g Granulated sugar (½ cup)
- 1 teaspoon Vanilla extract
Assembly
- 1 Brown fondant shaped into legs
- 1 Black food coloring
- 7 Large strawberries
Instructions
Light Sponge Cake
- Preheat your oven to 160°C (320°F) and line the bottoms of two 6-inch cake tins.
- In a large bowl, combine the hot water and 65g of granulated sugar.
- Add the egg yolks and vanilla essence to the mixture, whisking until it doubles in size and becomes light and fluffy.
- Mix in the oil.
- Sift in the all-purpose flour, baking powder, and cornstarch. Gently fold until just combined.
- In another large bowl, beat the egg whites until foamy. Gradually add the remaining 65g of granulated sugar and continue beating until stiff peaks form.
- Carefully fold the egg whites into the egg yolk mixture until well combined.
- Pour the batter evenly into the prepared cake tins and bake for about 25 minutes, or until the cakes are level and spring back when pressed in the center.
- Turn the cakes upside down and cool on a wire rack. Once cooled, place them in the fridge to chill completely.
- Once chilled, unmold the cakes and gently rub the outer crust to remove the caramelized layer. Set aside until assembly.
Whipped Cream
- In a large bowl, combine the thickened cream, granulated sugar, and vanilla extract.
- Whisk on high speed until stiff peaks form.
- Transfer the whipped cream into a piping bag fitted with a large round tip.
Assembly
- Place one cake layer on your serving plate. Pipe blobs of whipped cream around the circumference of the cake to create a layer of cream.
- Add a layer of sliced strawberries on top of the cream.
- Place the second cake layer on top and repeat the process of piping whipped cream blobs around the edge.
- Cut the remaining strawberries in half and arrange them in a ring on top of the cake.
- Using any leftover whipped cream, dye it black with the black food coloring. Transfer the black cream to a piping bag fitted with a small round tip.
- Pipe a face onto your cake, and place the fondant legs on either side of the face.
Leave a Reply