
Introduction to Peach Jam
Making your own peach jam might feel like a daunting task, but it’s truly one of the most rewarding kitchen projects you can undertake. Why settle for store-bought versions laden with preservatives when you can craft a delightful batch that celebrates the pure flavor of ripe peaches? It’s this very taste that’s often missing from commercial products, which can taste artificial and overly sweet. Not to mention, creating your jam gives you complete control over the ingredients — from how much sugar or honey to add to the choice of sweeteners.
Plus, there's something inherently satisfying about standing in your kitchen surrounded by the sweet aroma of cooking fruit. Whether it’s a sunny weekend morning or a cozy evening, making peach jam is the perfect way to fill your home with warmth. It not only allows you to preserve those lovely summer vibes but also sets the stage for memorable breakfasts, delightful desserts, or thoughtful gifts for friends and family.
Did you know that homemade jams can last for up to a year in the freezer? This means you can enjoy the taste of summer even in the middle of winter! Ready to dive into the process? Let's get started!
Ingredients for Peach Jam
Essential Ingredients for Homemade Peach Jam
Making your own peach jam is simpler than you might think! You’ll need just a few key ingredients to whip up this luscious spread:
- 2 pounds (907 grams) ripe peaches: Choose peaches that are juicy and fragrant for the best flavor.
- ¾ cup (150 grams) granulated sugar: This sweetens the jam perfectly, though you can replace it with honey (⅓ to ½ cup) for a non-vegan option.
- 2 teaspoons lemon juice: This adds a zesty brightness that balances the sweetness.
These three ingredients serve as the backbone of your jam, ensuring it’s delicious and bursting with peachy goodness.
Optional Ingredients for Flavor Enhancement
To take your peach jam to the next level, consider adding any of the following optional ingredients:
- Cinnamon or ginger: A pinch can add warm, spicy notes.
- Vanilla extract: A splash brings a lovely aromatic quality.
- Chopped mint: For a refreshing twist, mix it in just before transferring to jars.
Feel free to experiment with these additions—creating your unique twist is part of the fun! For more tips on flavor enhancements, check out resources like Food Network. Happy jam-making!
Preparing Peach Jam
Creating your own peach jam at home is not only a rewarding experience but also a straightforward process. With just a few ingredients and some patience, you can enjoy the sweet taste of summer all year round. Let’s dive into the preparation steps together!
Gather and Prepare Ingredients
To start your jam-making journey, gather the following ingredients:
- 2 pounds of ripe peaches
- ¾ cup of granulated sugar or honey (depending on your sweetness preference)
- 2 teaspoons of lemon juice
Ensure you wash the peaches thoroughly to remove any dirt or residue. Fresh, organic peaches make for the best flavor, and if you can, try to source them from a local farmer’s market or grocer. You can find great tips on choosing ripe peaches at this resource.
Blanch and Peel the Peaches
Blanching is a simple technique that makes peeling peaches a breeze.
- Fill a large pot with water and bring it to a boil. Just before it bubbles over, prepare a bowl filled with ice water.
- Carefully add the peaches to the boiling water for about 30 seconds using a slotted spoon.
- Once the half-minute is up, transfer the peaches immediately to the ice bath. This quick temperature change helps loosen the skins.
- After they cool, you can effortlessly slip the skins off with your hands. The result? Smooth, beautiful peach flesh ready for your peach jam.
Combine Ingredients in the Saucepan
Now, let’s create the jam!
- Cut the peeled peaches into fourths or eighths, but remember, the size doesn’t have to be exact.
- In a medium or large saucepan, combine the peach chunks, your choice of sugar or honey, and the lemon juice.
- For a touch of texture, use a potato masher to mash about half of the peach mixture before cooking. This will create a delightful consistency in your jam.
Boil and Simmer to Perfection
Bring your mixture to a boil over medium-high heat, stirring frequently. Once boiling, reduce the heat to maintain a gentle boil.
- Let it simmer for about 12 minutes. Keep an eye on it to prevent burning.
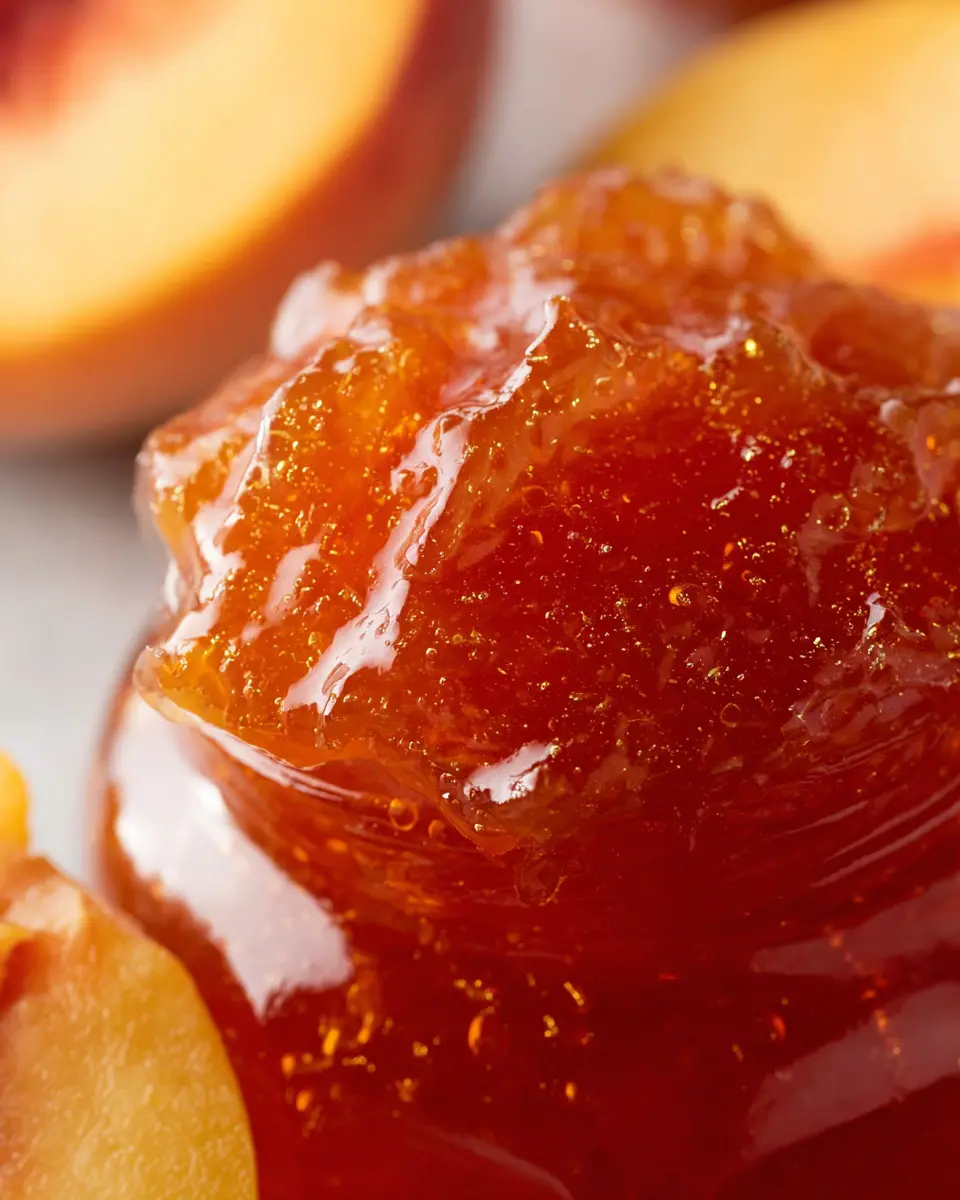
- You want the temperature to reach 220 °F (104 °C) with sugar or 227 °F (108 °C) with honey. It may look runny initially, but trust the process—peach jam will thicken as it cools!
Test for Doneness and Cool
To check if your jam’s ready, use that cold plate you set aside. Drop a spoonful of the jam on it:
- Let it sit for a minute, then use your finger to push through the jam. If it wrinkles and holds its shape, you're all set!
- Remove the saucepan from heat and let it cool completely on a wire rack for about two hours before transferring it to an airtight container for refrigeration.
Homemade peach jam typically yields around 1 ⅓ cups, perfect for slathering on toast or adding to desserts. Enjoy your homemade creation, and share it with friends!

Variations on Peach Jam
Spiced Peach Jam with Cinnamon
Add warm spices to your homemade peach jam for a cozy twist! Simply stir in a teaspoon of ground cinnamon while the jam is simmering. For an added depth of flavor, consider incorporating a pinch of nutmeg or allspice. The aroma alone will have your kitchen smelling delightful. This variation pairs beautifully with toast, pancakes, or even a charcuterie board.
Peach and Ginger Jam
For a zingy alternative, try peach and ginger jam. Grate a tablespoon of fresh ginger and mix it into your peach mixture as it cooks. The warm heat of ginger complements the sweetness of the peaches, creating a truly unique flavor profile. This version is fantastic on scones or as a glaze for chicken.
Explore these variations to elevate your homemade peach jam experience and impress your friends! For even more creative ideas, check out this article on fruit preserves for inspiration!
Cooking tips and notes for Peach Jam
Ensuring the right consistency
When making your peach jam, achieving that perfect consistency is key. To test if your jam is ready, simply drop a spoonful onto a cold plate (you’ve kept it in the freezer, right?). After a minute, run your finger through the jam. If it wrinkles and holds its shape, you’ve nailed it! If it’s still too runny, let it boil a little longer, stirring frequently to prevent burning.
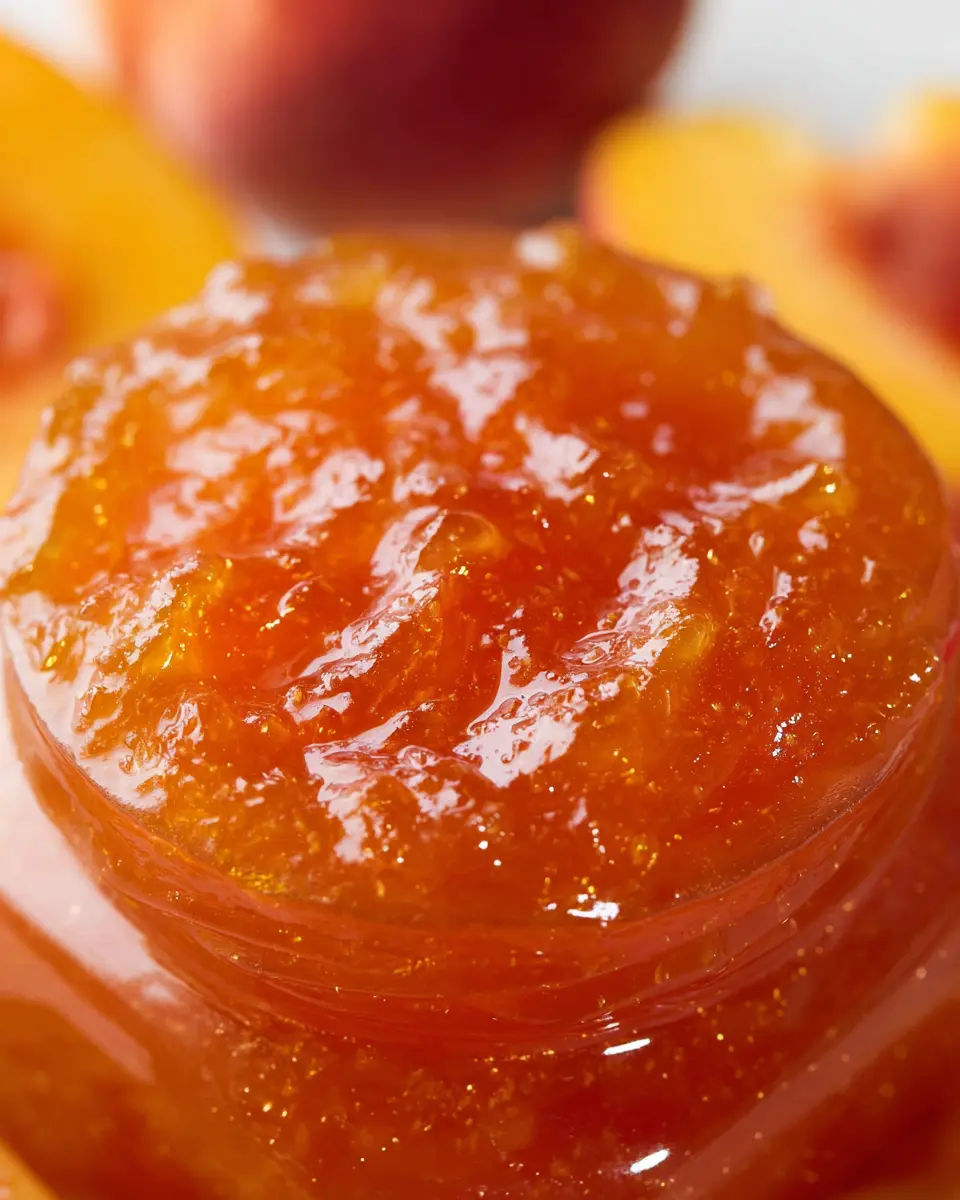
Properly storing your jam
Once your delicious peach jam has cooled, transfer it to clean jars. It'll keep in the fridge for up to one week, but for longer storage, consider freezing it — it can last up to a year! Mason jars work wonderfully, and you can read more about storage tips here. Enjoy spreading that sweet goodness!
Serving Suggestions for Peach Jam
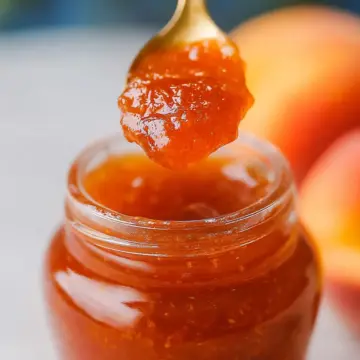
Spreading on Toast or Biscuits
One of the simplest and most delightful ways to enjoy peach jam is by slathering it on warm toast or flaky biscuits. The combination of buttery goodness and sweet, juicy peach flavors creates a breakfast experience that's hard to beat. Try pairing it with a side of turkey bacon or a fruity smoothie for a balanced meal. For a little extra flair, add a sprinkle of chopped nuts or a dollop of cream cheese on top—it's a creamy crunch that elevates your morning!
Using in Desserts or Savory Dishes
Peach jam isn't just a breakfast staple; it can also shine in various desserts and savory dishes. Drizzle it over vanilla ice cream for a quick dessert, or incorporate it into yogurt parfaits for a sweet finishing touch. Feeling adventurous? Use it as a glaze for grilled chicken ham or beef, adding a hint of sweetness that beautifully complements the savory elements. Mixing it into salad dressings can also create a tangy twist to your favorite greens. The possibilities are endless!
For more creative ideas, check out this article on peach-based recipes that will inspire your culinary journey!
Time Breakdown for Peach Jam
Preparation Time
Getting your ingredients ready for peach jam should take about 20 minutes. This includes washing, blanching, and peeling your delicious peaches.
Cooking Time
The magic happens in the pot! You'll need roughly 15 minutes of cooking time. Bring your mixture to a boil, then let it simmer until it thickens beautifully.
Total Time
In total, you’re looking at around 50 minutes from start to finish for this delightful jam that brings summer right to your breakfast table.
Creating your own peach jam not only fills your kitchen with a delightful aroma but also gives you a sense of accomplishment. And let’s be honest, there’s nothing quite like homemade jam to elevate your morning toast!
For more tips on canning and preserving fruit, check out The National Center for Home Food Preservation for expert advice.
Nutritional Facts for Peach Jam
Calories
A tablespoon of peach jam contains approximately 90 calories, making it a delightful yet simple way to sweeten up your morning toast or yogurt without going overboard on calories.
Sugar Content
With about 21 grams of sugar per tablespoon, your homemade peach jam naturally captures the sweetness of ripe peaches. If you're looking to reduce sugar intake, consider adjusting the amount of sugar or using honey.
Dietary Considerations
This peach jam is vegan-friendly if you opt for sugar instead of honey. For those following a gluten-free diet, rest assured that this recipe is naturally gluten-free. Just keep in mind it does contain sugar, so moderation is key. Always consult a nutritionist for personalized dietary advice.
For more information on how sugar impacts health, check out the American Heart Association.
FAQs about Peach Jam
How long does homemade peach jam last?
Homemade peach jam can last in the refrigerator for about one week. If you want to keep it longer, freezing is a great option! When sealed in airtight containers, it can last up to one year in the freezer. Just make sure to label the jars with the date to keep track!
Can you use frozen peaches for jam?
Absolutely! Using frozen peaches can still yield delicious jam. Just make sure to thaw them first and drain any excess liquid. This could slightly alter the texture, but your peach jam will still taste fantastic!
What’s the best way to adjust sweetness in peach jam?
If you find your peach jam is too sweet, you can balance it out with a splash of lemon juice for acidity. Alternatively, if it’s not sweet enough, simply add a bit more sugar or honey gradually, tasting as you go. Find the balance that suits your palate, and you’ll have a perfect batch!
For more tips on jam-making nuances, check out the National Center for Home Food Preservation.
Conclusion on Peach Jam
Making peach jam is a delightful journey that celebrates the vibrant flavors of summer. This homemade treat not only preserves the essence of ripe peaches but also adds a personal touch to your breakfast or dessert spread. Enjoy it fresh on toast or as a complement to yogurt. Happy jamming!
For additional ideas, you might want to check out How to Store Homemade Jam and explore creative recipes like Peach Jam Glazed Chicken.
Peach Jam
Equipment
- large pot
- Slotted spoon
- medium saucepan
- potato masher
- freezer
Ingredients
- 2 pounds ripe peaches
- ¾ cup granulated sugar or ⅓-1/2 cup honey for a non-vegan version
- 2 teaspoons lemon juice
Instructions
- Place a small plate in the freezer before you start cooking.
- Wash the peaches.
- Bring a large pot of water to a boil. Prepare a large bowl filled with ice water.
- Once the water is boiling, carefully add the peaches.
- Using a slotted spoon, remove the peaches from the pot after 30 seconds and transfer them to the ice bath.
- Once cooled, gently peel away the skins using your hands.
- Remove the pit and cut the peaches into fourths or eighths.
- Combine the peach chunks, sugar or honey, and lemon juice in a medium or large saucepan. Mash about half of the peaches with a potato masher.
- Bring to a boil over medium-high heat while stirring frequently. Once it starts boiling, turn the heat to the lowest you can to keep it at a full boil.
- Let boil for about 12 minutes until it reaches a temperature of 220 °F for sugar version or 227 °F for honey version.
- When you think the jam is ready, drop a small spoonful onto the cold plate and let it sit for a minute.
- If the jam wrinkles and holds its shape, it is done.
- Remove the saucepan to a wire rack to cool completely, about 2 hours, then refrigerate in an airtight container.
- Yields about 1 ⅓ cups of jam.

Leave a Reply