
Introduction to Okonomiyaki
What is Okonomiyaki and Its Origins?
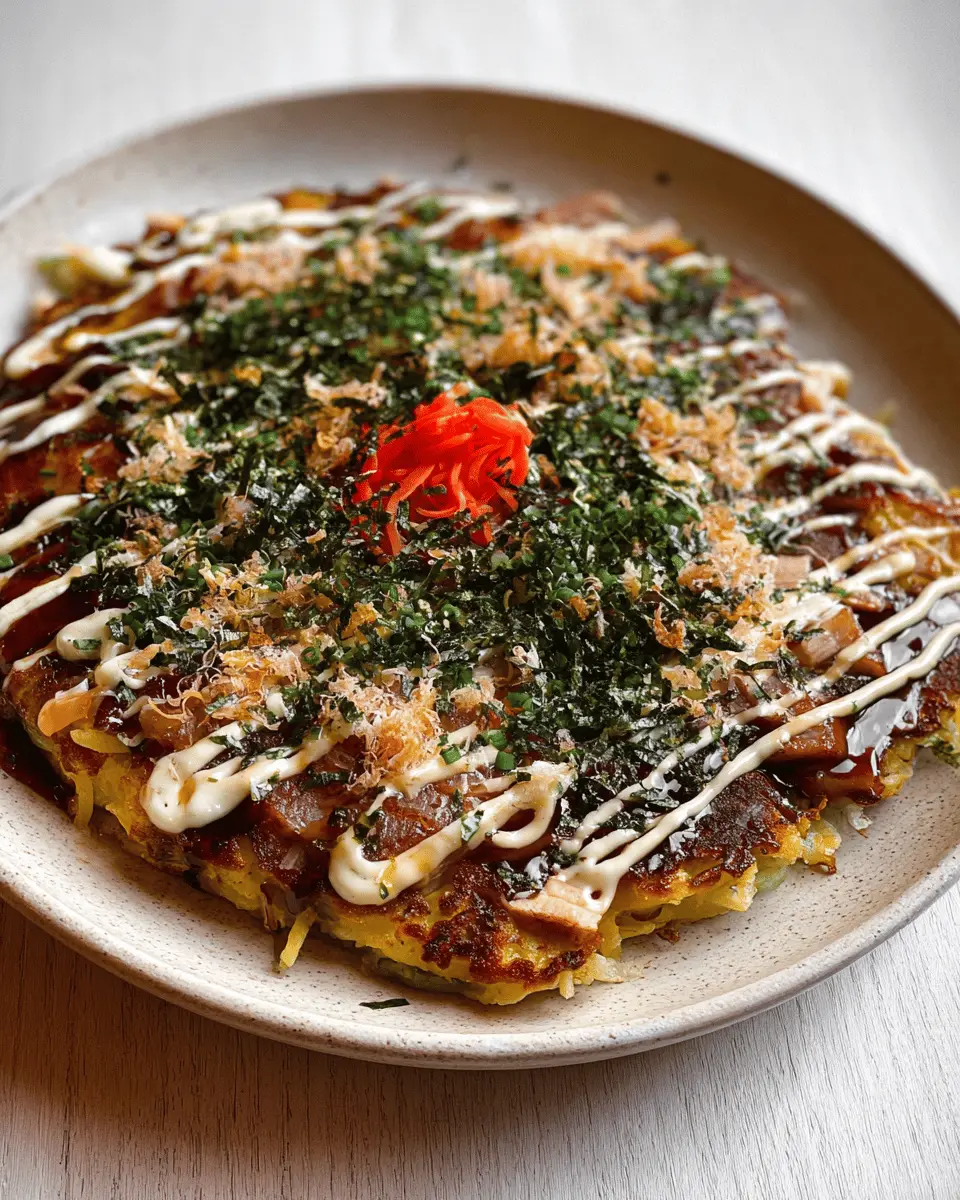
Okonomiyaki (お好み焼き) is a delightful Japanese savoury pancake that has captured the hearts—and stomachs—of food lovers worldwide. Originating from Osaka, this dish embodies the phrase "as you like it" and allows for endless creativity in toppings and flavors. Traditionally, the base consists of a batter made from flour, dashi stock, and shredded cabbage, combined with an array of toppings that often includes sliced beef, seafood, and even cheese!
You might be surprised to learn that okonomiyaki has roots that trace back to the Edo period (1603-1868) when simple pancakes were cooked on hot griddles. It wasn't until later that the modern version began to take shape in Osaka and Hiroshima, with each region putting its personal twist on the dish. For a fascinating exploration of this beloved culinary staple, check out this detailed article on Japanese street food to understand its rich cultural significance.
What makes okonomiyaki truly special is its customization. Whether you prefer a hearty pancake loaded with beef or a vegetarian version, you can easily adapt it to your taste. So, are you ready to embark on this savory journey and create your own delicious masterpiece? Let’s dive into the recipe!
Ingredients for Okonomiyaki
Essential ingredients for the batter
To create the perfect Okonomiyaki batter, you’ll need a few key components that serve as the foundation for this delicious pancake. Start with:
- 1½ cups of flour: This gives your pancake the right texture.
- 350ml of dashi stock: Packed with umami flavor, it will enhance the taste like nothing else.
- 1 egg: A binding agent that adds richness.
- 140g shredded cabbage: The star of the show, adding crunch and flavor.
This combination creates a batter that’s both satisfying and versatile.
Toppings and garnishes
Now comes the fun part! The toppings and garnishes that go on your Okonomiyaki can make or break the dish. Here are some essentials:
- 70g shredded cabbage: Yes, more cabbage for that added texture!
- 2 eggs: For an extra layer of deliciousness.
- 120g thinly sliced beef: Rich and juicy, it's a great choice!
- ¼ cup katsuobushi: Those flavorful dried bonito flakes really bring it all together.
Don’t forget to finish off your masterpiece with some savory sauce, Kewpie mayonnaise, and optional garnishes like aonori, benishoga, and more katsuobushi for that authentic touch.
Alternative protein options
If you're looking to switch things up or cater to different dietary preferences, there are excellent alternative protein options for your Okonomiyaki.
- Turkey bacon or chicken ham are fantastic lean options.
- You could substitute with thinly sliced beef or even experiment with seafood, like shrimp or squid.
These alternatives not only maintain the essence of Okonomiyaki but also cater to a diverse range of palates. The beauty of this dish lies in its adaptability, so feel free to get creative!
For more insights on Japanese ingredients and cooking techniques, explore resources like Japan Centre to deepen your culinary journey.
Preparing Okonomiyaki
Okonomiyaki, often referred to as a savory Japanese pancake, is an authentic dish that brings a feel of street markets straight into your kitchen. Preparing this dish can be a delightful experience, and you’ll be amazed at how simple it is. Let's break down the steps to create your own Okonomiyaki masterpiece!
Making the Batter
Start by gathering your ingredients. In a large mixing bowl, combine 1½ cups of flour with 350ml of dashi stock. Whisk these together until the mixture is smooth and lump-free—using a whisk makes this process easier. Once that’s done, add in about 140g of shredded cabbage and one egg. Mix everything well to ensure a uniform batter. The cabbage not only adds flavor but also gives Okonomiyaki its delightful crunch!
Preparing the Pancake
Now that you have a nice batter, let’s move on to creating the actual pancake. Heat 1 tablespoon of vegetable oil in a large skillet over medium heat. When the oil is hot, pour a ladleful of the batter (you’ll use a bit less than half for the first pancake) into the skillet, spreading it into a round shape about 18cm (7 inches) in diameter.
Next, sprinkle half of the remaining shredded cabbage on top of the batter, creating a small well in the center to hold your egg. Crack an egg into the well, and then layer the pancake with thinly sliced beef, ensuring it covers the entire surface. Sprinkle some katsuobushi on top for that authentic flavor.
Cooking the Okonomiyaki
Once you've prepared the pancake, it’s time to cook! Allow it to cook for around 10 minutes until the bottom is light golden brown. When it’s firm enough to lift, carefully flip it over and cook for another 10 minutes. You can check for doneness by inserting a chopstick in the center; if it comes out clean, your Okonomiyaki is ready to go!
Adding Toppings and Sauces
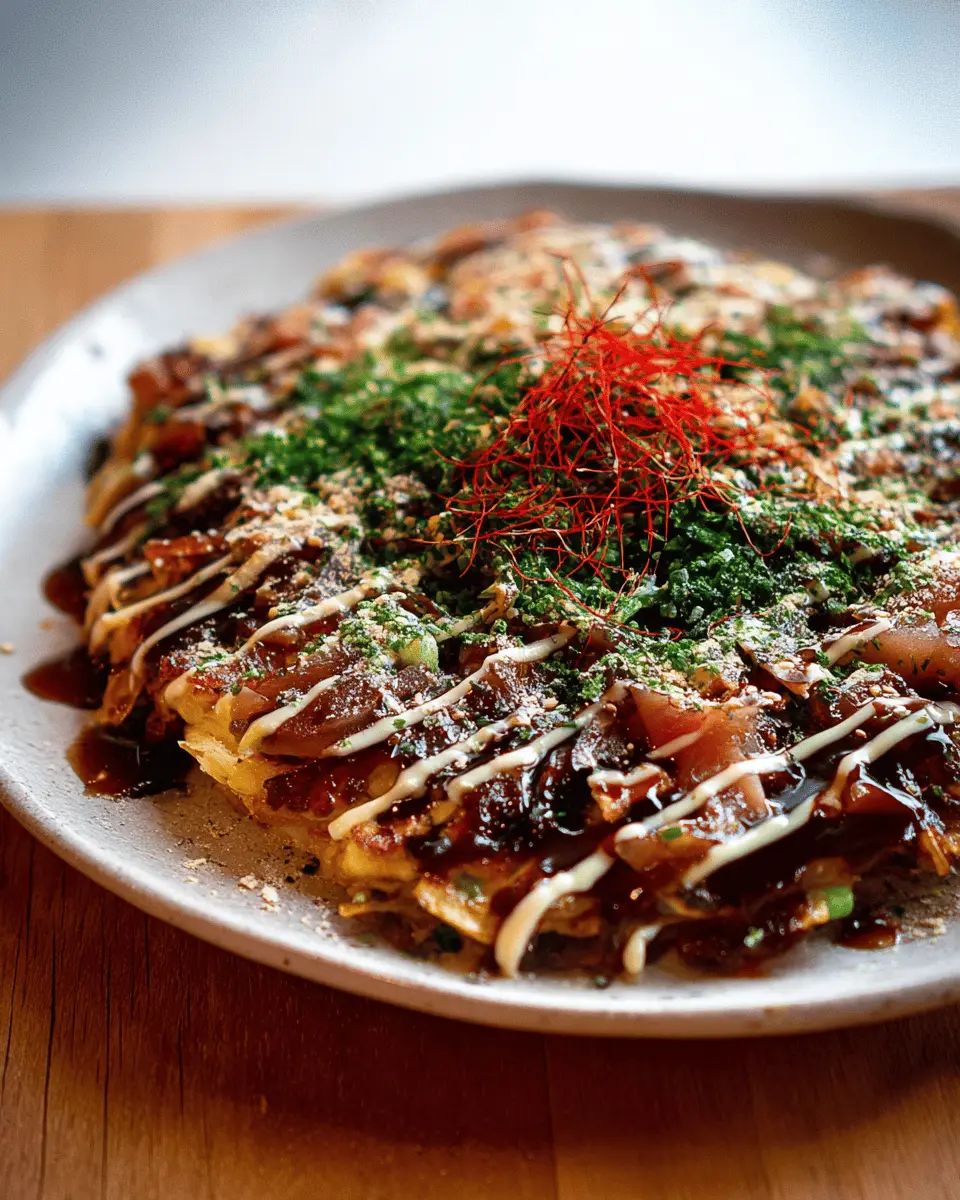
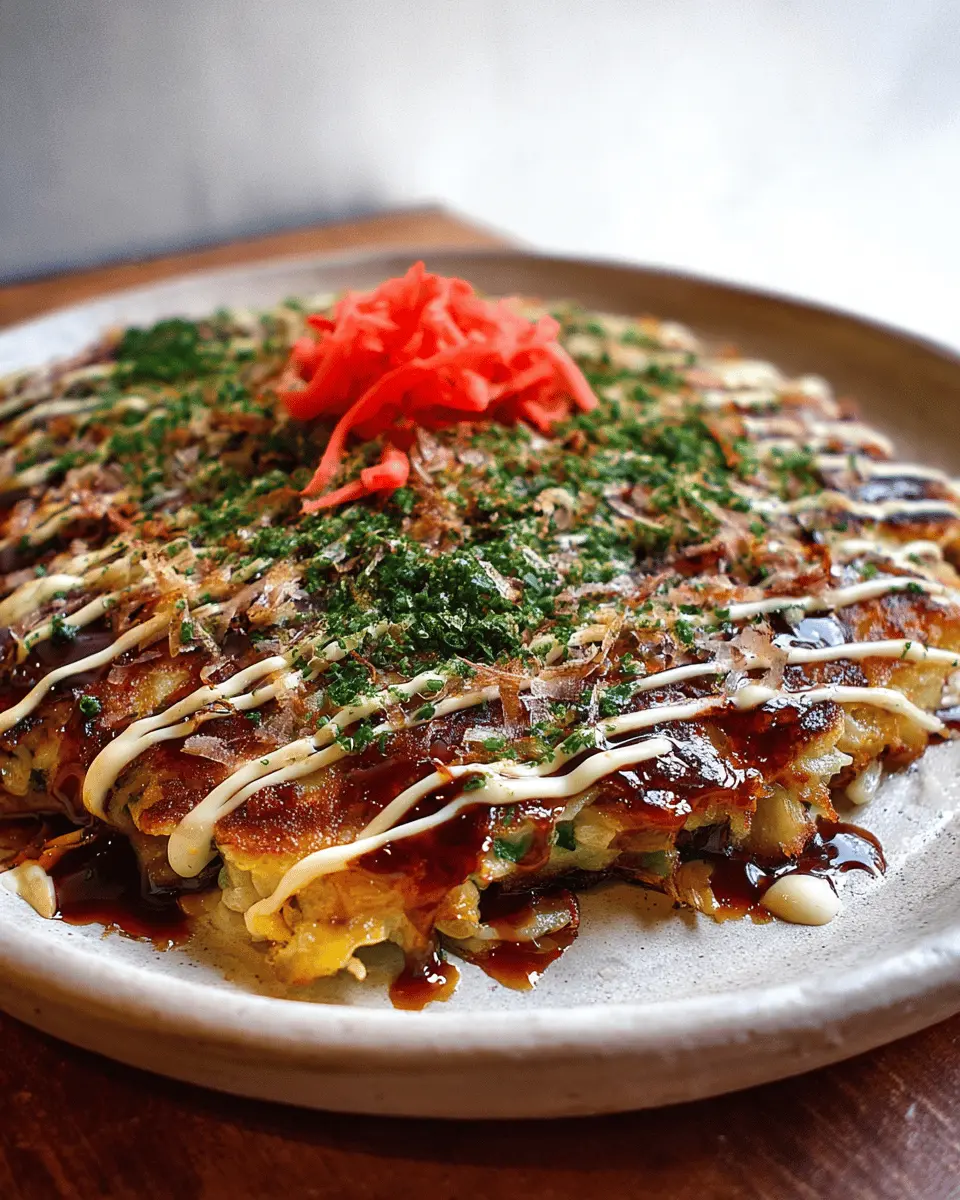
Here comes the fun part—toppings! Drizzle your Bulldog tonkatsu sauce generously over the cooked pancake, followed by Kewpie mayonnaise for a creamy contrast. Don’t skimp on the garnishes! Sprinkle aonori, benishoga, and additional katsuobushi to create layers of flavor that elevate your dish. Each element enhances the taste and makes your Okonomiyaki visually appealing.
Serving the Okonomiyaki
To serve, cut the pancake into quarters and enjoy it straight away. This dish is perfect for sharing and makes for a lovely centerpiece during a casual dinner with friends or family. For an even more interactive experience, consider serving it on a portable cooktop to keep it warm right at the table.
Preparing your own Okonomiyaki is a rewarding experience, merging flavors and textures that are uniquely Japanese. For additional tips on perfectly frying these pancakes or suggestions on variations to suit your tastes, feel free to explore more! Enjoy your culinary adventure!
Variations on Okonomiyaki
Seafood Okonomiyaki
If you're a seafood lover, try a seafood okonomiyaki! You can take this savory pancake up a notch by adding shrimp, squid, or even scallops. Simply slice your seafood thinly and mix it into the batter or layer it on top for that delightful oceanic flavor. Many Japanese enjoy experimenting with various seafood combinations, ensuring every bite is a tasty surprise. For more information on seafood okonomiyaki variations, check out Just One Cookbook.
Vegetarian Okonomiyaki
Veggie enthusiasts won't be left out, as you can easily turn okonomiyaki into a vegetarian delight. Swap out traditional meat for ingredients like mushrooms, bell peppers, and green onions. Even add sweet potatoes or carrots for a sweet twist! Top with a generous sprinkle of aonori and benishoga to amp up the taste. Who said you need meat to enjoy this classic dish? Dive into more vegetarian ideas on NHK World.
Cooking Tips for Okonomiyaki
Tips for Achieving the Perfect Texture
To ensure your okonomiyaki has that signature crispy outside while staying tender inside, watch your cooking temperature closely. Medium heat is ideal; too high and it may burn before cooking through. Also, allow the pancake to cook undisturbed for the first ten minutes—this helps form a beautiful crust. When flipping, use a spatula’s edge to gently slide underneath and, if you're feeling bold, give it a quick flip for a more impressive turn.
Recommended Cooking Equipment
Having the right tools can elevate your okonomiyaki game. A heavy-bottomed skillet or a cast-iron frying pan will distribute heat evenly. If you have one, a flat griddle works wonders for cooking multiple pancakes at once. Lastly, a good spatula is crucial for maneuvering your pancake without breaking it—check out some well-reviewed options on Amazon or your favorite kitchen supply store.
These tips will help ensure your okonomiyaki is not only delicious but perfectly textured every time!
Serving Suggestions for Okonomiyaki
Pairing Drinks with Okonomiyaki
When savoring your Okonomiyaki, consider pairing it with refreshing beverages. I recommend trying a cool glass of green tea or a light soda like yuzu-flavored lemonade. The citrus notes in yuzu can cut through the richness of the pancake beautifully. Alternatively, for a fusion twist, serve with sparkling water infused with fresh herbs or citrus slices to elevate your dining experience.
Creative Serving Ideas
To make your Okonomiyaki experience more interactive, try serving it directly from the pan at the dining table. Guests can add their favourite toppings like additional aonori or benishoga according to their taste. You can also create a fun toppings bar with different sauces and condiments, allowing everyone to customize their own pancake. Another option is to cut the pancakes into bite-sized pieces for easier sharing—perfect for a casual gathering!
Time Breakdown for Okonomiyaki
Preparation Time
Getting everything ready for your okonomiyaki will only take about 10 minutes. This includes chopping up the cabbage, measuring out your ingredients, and mixing the batter. Simple and straightforward, right?
Cooking Time
The cook time is roughly 25 minutes. This allows for plenty of time to ensure that your savory pancake is beautifully golden on the outside while remaining scrumptiously tender inside.
Total Time
In just 35 minutes, you’ll have delicious homemade okonomiyaki, ready to impress your friends or family. Whether you're whipping it up for a cozy night in or a gathering, this dish is sure to be a hit!
Have more questions or need tips on making the best okonomiyaki? Check out the related resources at JapaneseCooking101 for extra insights!
Nutritional Facts for Okonomiyaki
Calories per serving
Enjoying a serving of okonomiyaki packs in approximately 300-400 calories, making it a satisfying yet balanced meal option, especially when topped with nutritious garnishes like seaweed and pickled ginger.
Protein content
Each serving boasts around 15-20 grams of protein, primarily from the eggs and beef, providing a hearty energy boost to kick-start your day or power through lunch.
Sodium levels
Be mindful of sodium content, as a serving can contain around 800 mg due to the soy sauce and toppings. To manage your intake, consider using low-sodium sauces to keep your okonomiyaki deliciously flavorful without the extra salt.
For more detailed insights into nutritional content, you can refer to resources like the USDA FoodData Central or health-focused sites such as NutritionData that can provide you with further information tailored to your dietary needs.
FAQs about Okonomiyaki
What can I use instead of dashi stock?
If you're looking for a substitute for dashi stock in your Okonomiyaki, don’t worry! You can use chicken broth, vegetable stock, or even a homemade mixture of water with a bit of soy sauce and miso for that umami flavor. Each alternative will bring a unique taste, so feel free to experiment and find your preferred option!
How to reheat leftover Okonomiyaki?
Reheating leftover Okonomiyaki is simple! The best method is to place it in a skillet over low heat for about 5-7 minutes, flipping halfway through. This keeps it crispy on the outside without drying it out. Alternatively, you can pop it in the microwave for about 1-2 minutes – just be aware that it may lose some of its original texture.
Can Okonomiyaki be made in advance?
Absolutely! You can prepare the batter and cook the pancakes in advance. Just store the cooked Okonomiyaki in an airtight container in the fridge for up to 3 days. When you're ready to enjoy it, reheat following the instructions above, and you’ll have a delicious meal ready to go!
Conclusion on Okonomiyaki
In conclusion, Okonomiyaki is not just a delicious dish but a delightful experience! With its customizable toppings and textures, it’s a fun way to gather around the table with friends or family. Try making it at home, and embrace the joy of Japanese cuisine! For more culinary adventures, check out Nihon Ryori for insights into various Japanese dishes.

Okonomiyaki (Japanese Savoury Pancake)
Equipment
- Large fry pan
- ladle
- Whisk
- spatula
Ingredients
Batter
- 1.5 cups flour
- 350 ml dashi stock (11.8oz)
- 1 large egg
- 140 g shredded cabbage (4.9oz)
Topping
- 70 g shredded cabbage (2.5oz)
- 2 large eggs
- 120 g thinly sliced pork (4.2oz)
- 0.25 cups katsuobushi (dried bonito flakes)
Sauce
- Bulldog tonkatsu sauce
- Kewpie Japanese mayonnaise (optional)
Garnish
- Aonori (dried seaweed flakes)
- Benishoga (red pickled ginger)
- Katsuobushi (dried bonito flakes)
Oil
- 2 tablespoon vegetable oil
Instructions
Making Batter
- Place flour and dashi in a bowl. Mix well until the batter becomes smooth and lump free. I use a whisk.
- Add cabbage, an egg and mix well.
Making the Pancake (One at a time)
- Heat 1 tablespoon of oil in a large fry pan or an iron plate over medium heat.
- Using a ladle, pour little bit less than half of the batter onto the fry pan/iron plate and spread the batter to make a round pancake (diameter is about 18cm/7”).
- Place half of the Topping cabbage on the pancake. Make a well in the middle of the cabbage. Crack an egg in the well.
- Spread half the pork over the pancake covering the entire surface. Then sprinkle half the katsuobushi over it.
- Fill a bit of batter in a ladle and drizzle it back and forth across the surface. Do not cover the entire surface.
- Cook for about 10 minutes until the bottom of the pancake is light golden brown.
- Turn it over with a spatula and cook for another 10 minutes or until the bottom is light golden brown.
- Turn it over again so that the topping side is facing up. Check if it's cooked through by inserting a chopstick.
- Transfer the pancake to a plate.
- Repeat for the second pancake.
Serving
- Drizzle sauce over the pancake, then Kewpie mayonnaise if using. Sprinkle aonori, benishoga, and katsuobushi if using.
- Cut the pancake into quarters and serve immediately.
Leave a Reply